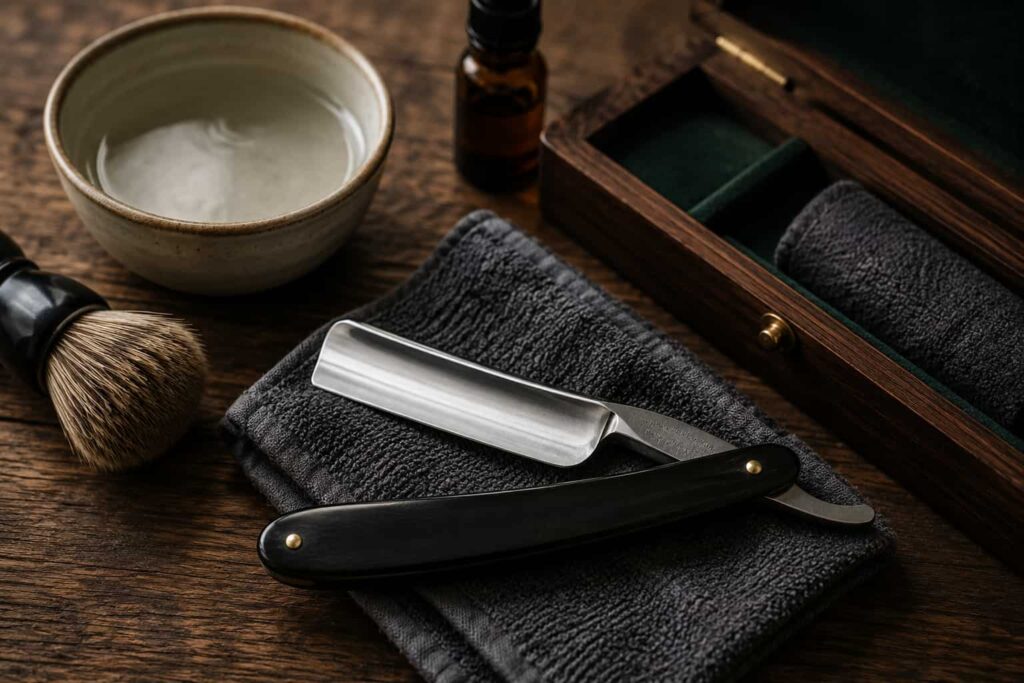
Learning how to hone and sharpen a straight razor at home is a big step in traditional shaving. A sharp straight razor gives a smoother shave, less tugging plus better control. A dull razor does the opposite. It pulls hair, scrapes skin and makes you press harder than you should. Many beginners think honing is simple sharpening. In reality, straight razor honing is more delicate than sharpening a kitchen knife. The edge is extremely thin. A small mistake can make the razor feel harsh or uneven. That is why patience matters more than speed.
If you use a traditional fixed blade straight razor, you will eventually need honing. Stropping keeps the edge fresh before shaving, but it does not fully restore a dull blade. Honing brings the edge back when the razor stops cutting smoothly. This guide explains how to hone and sharpen a straight razor at home, what tools you need, which stones to use, how to prepare the razor, how to check the edge, what mistakes to avoid plus when it is better to use a professional honing service.
Quick Answer
| Question | Simple Answer |
| Do all straight razors need honing? | Traditional fixed blade razors need honing when the edge becomes dull |
| Do shavettes need honing? | No, shavettes use replaceable blades |
| Is stropping the same as honing? | No, stropping maintains the edge while honing sharpens it |
| Can beginners hone at home? | Yes, but they should start carefully |
| What stone grit is useful? | Finishing stones around 8,000 grit to 12,000 grit are common for razor edges |
| How often should you hone? | Only when stropping no longer improves the shave |
| Is professional honing better? | It is safer if you are new or the razor edge is damaged |
Honing vs Stropping
Before sharpening a straight razor, you need to understand the difference between honing and stropping. Stropping is regular edge maintenance. You usually do it before shaving. It realigns and polishes the thin edge. Stropping does not remove much steel. Honing is actual sharpening. It uses stones to restore the edge when the razor becomes dull. Honing removes a tiny amount of steel to create a clean cutting bevel.
| Feature | Stropping | Honing |
| Main Purpose | Refreshes and aligns the edge | Sharpens and restores the edge |
| Tool Used | Leather strop or paddle strop | Honing stones |
| Removes Steel | Very little | Yes |
| How Often | Usually before shaving | Only when needed |
| Skill Level | Beginner friendly | More advanced |
| Fixes Dull Edge | Not always | Yes |
| Risk Level | Low if done correctly | Higher if done incorrectly |
If you do not already know how to strop a straight razor, learn stropping first. Honing should come later because a poorly stropped razor can feel dull even when the edge is still good.
When Does a Straight Razor Need Honing?
You do not need to hone your straight razor after every shave. In fact, honing too often can shorten blade life. A good edge can last for many shaves if you strop correctly and follow proper straight razor maintenance.
Your razor may need honing if:
- It pulls hair even after stropping.
- It feels rough on the skin.
- It skips over beard hair.
- It needs too many passes to shave cleanly.
- It gives more irritation than usual.
- The edge looks damaged under magnification.
- You bought an old or used razor.
- The razor has not been honed for a long time.
A dull straight razor can be more irritating than a sharp one because it makes you use pressure. If the blade is sharp, it should cut hair with light contact.
Tools You Need to Hone a Straight Razor at Home
You do not need every advanced sharpening tool on day one. But you do need the right basics. Poor tools make learning harder and can damage the blade.
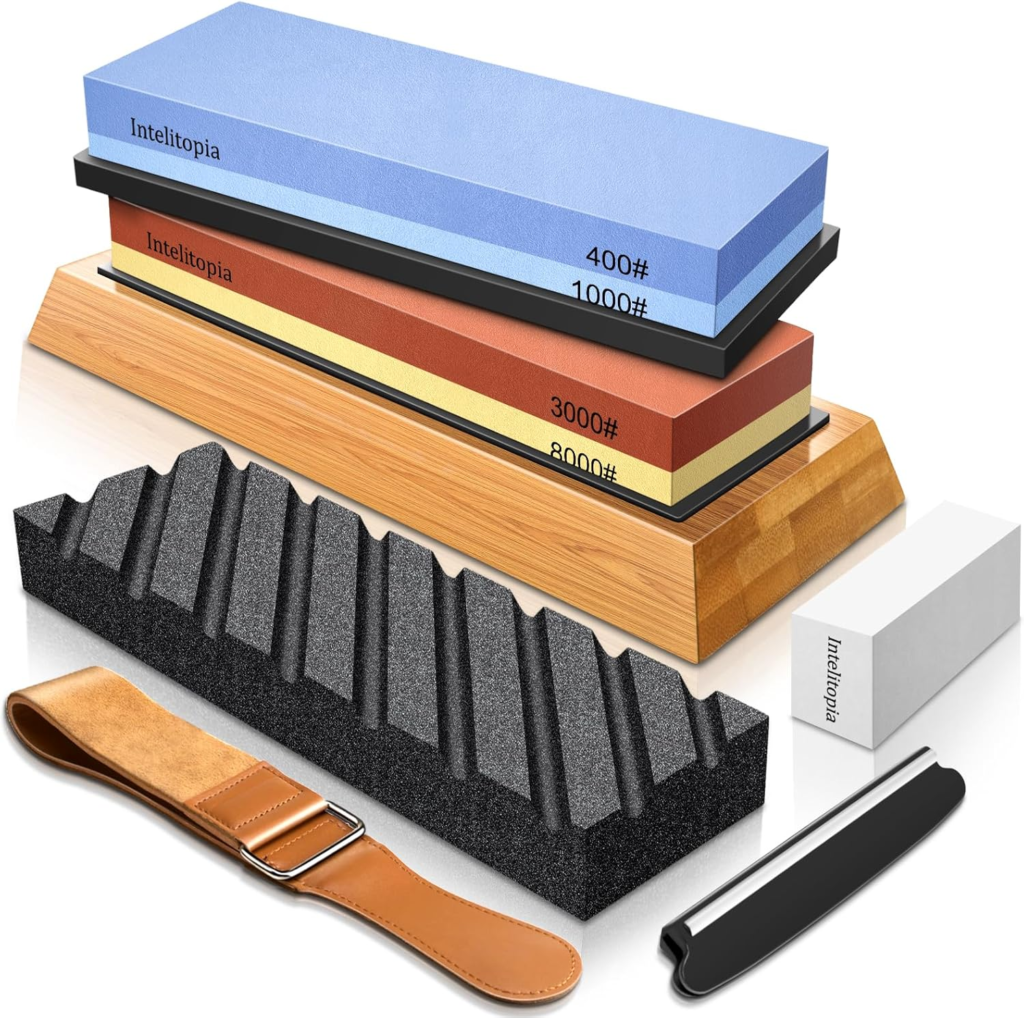
Honing Stones
Honing stones are the main sharpening tools. For straight razors, fine stones are very important. A rough stone can remove too much steel.
Common stone types include synthetic water stones, natural stones plus finishing stones. Beginners usually find synthetic stones easier because they are more consistent.
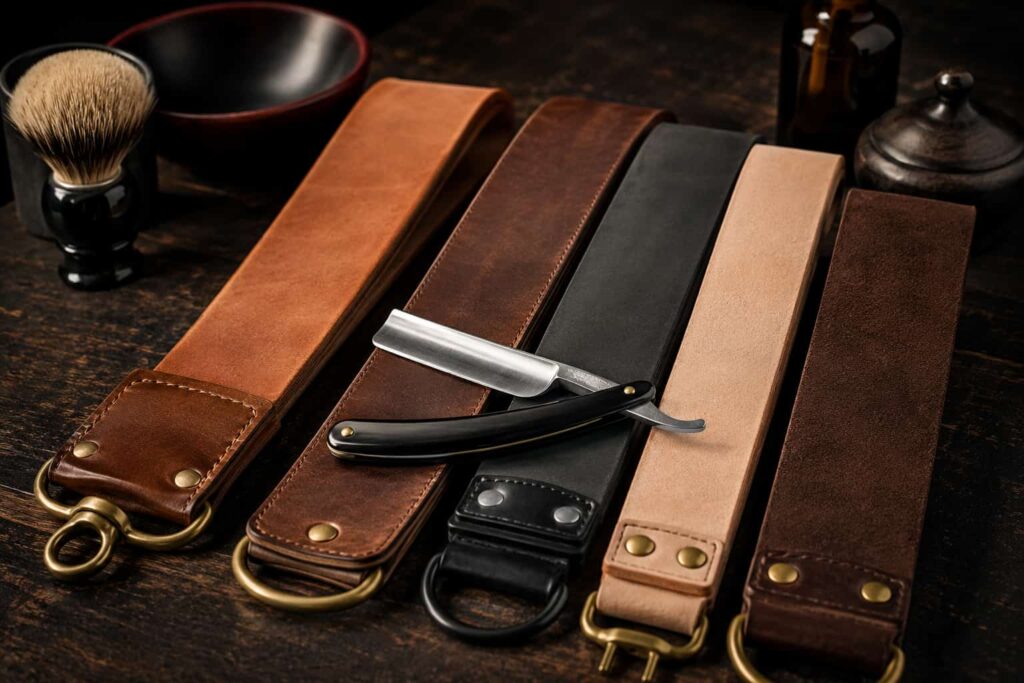
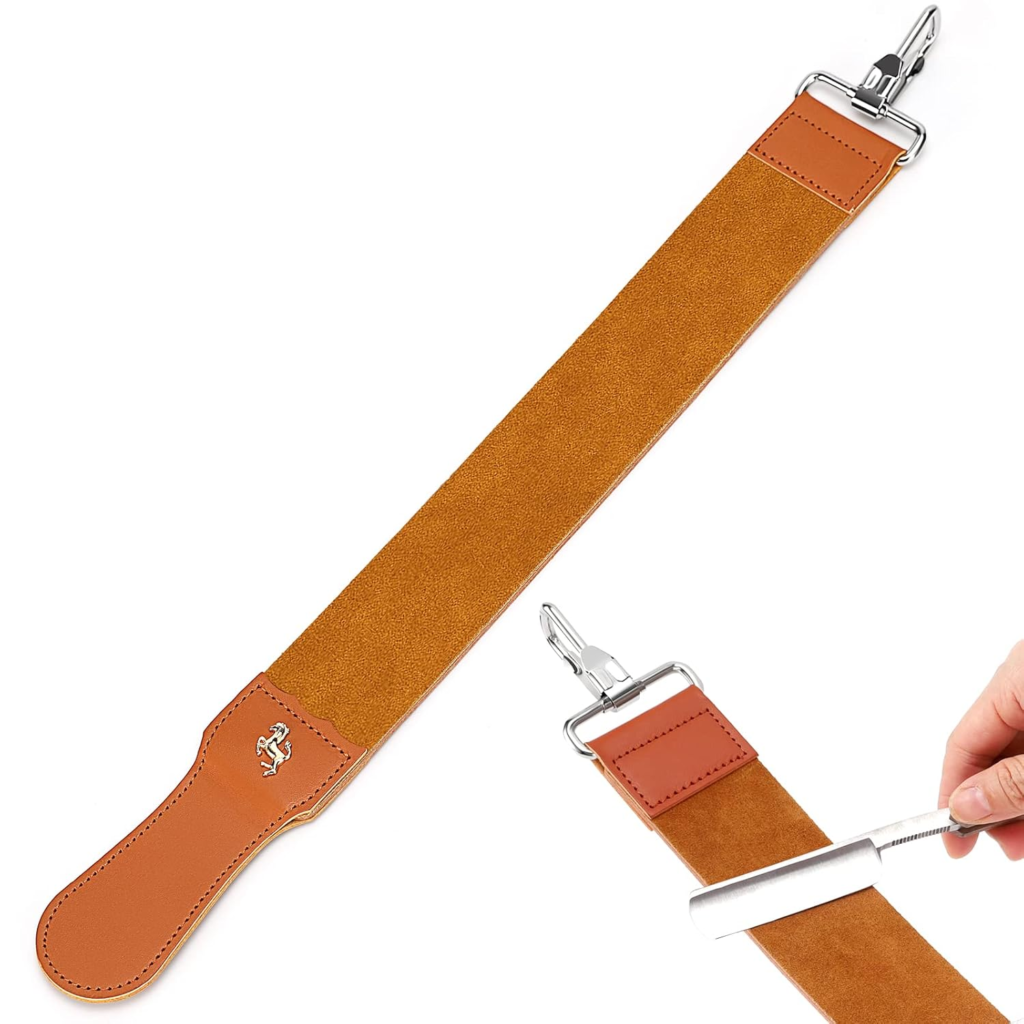
Leather Strop
After honing, you still need a leather strop. The strop helps refine and smooth the edge before shaving.
Lapping Plate or Flattening Stone
Your honing stone must be flat. If the stone is uneven, the razor edge may not sharpen evenly. A lapping plate or flattening stone helps keep the stone surface level.
Spray Bottle or Water Bowl
Many honing stones need water. Keep clean water nearby so you can wet the stone and rinse away metal particles.
Towel
Use a towel to keep your work area stable and dry. It also protects the razor if you set it down.
Magnifier
A small magnifier helps you inspect the edge. You can see chips, uneven bevels or scratches more clearly.
Marker
Some users use a marker on the bevel to see whether the stone is touching the full edge. This can help diagnose contact problems.
What Grit Stone Do You Need?
Straight razors need a very fine edge. That means you should not start with rough stones unless the razor is damaged or the bevel needs repair. For normal refreshing, many users use fine finishing stones. For a dull but not damaged razor, a progression can help.
| Stone Type | Common Use | Beginner Note |
| 1,000 grit | Bevel setting or repair | Avoid unless needed |
| 3,000 to 5,000 grit | Early refinement | Useful for dull razors |
| 8,000 grit | Shaving edge foundation | Common razor stone level |
| 10,000 to 12,000 grit | Final polishing | Good for smoother shave feel |
| Natural finishing stone | Final edge feel | More advanced |
If your razor only feels slightly dull, do not jump to a low grit stone. Start with a fine stone. If the edge has chips or serious damage, professional honing may be safer.
Should Beginners Hone Their Own Straight Razor?
Yes, beginners can learn but you should be honest about your comfort level. Honing needs a steady hand, flat stones plus patience. If your razor is expensive or has sentimental value, do not use it as your first practice blade. Learn on a less expensive razor first.
You should hone at home if:
- You enjoy learning tool care.
- You have time to practice.
- You are willing to buy proper stones.
- You can accept some trial and error.
- You want full control over your shaving setup.
You should use professional honing if:
- Your razor is expensive.
- The edge is chipped.
- The bevel is uneven.
- You are not confident.
- You need guaranteed shave ready results.
Prepare the Razor Before Honing
Before the blade touches a stone, clean the razor. Remove soap residue, oil and dirt. Dry the handle and pivot area. Inspect the blade under good light. Look for rust, chips, cracks or uneven wear. Do not hone a damaged razor blindly. Serious rust or chips may need restoration.
Make sure the spine is clean too. The spine rests on the stone and controls the honing angle. If dirt or tape residue is on the spine, the angle may not sit correctly. Some users add tape to the spine to protect it. This can reduce spine wear. But tape also slightly changes the honing angle. If you use tape, use it consistently.
Prepare the Honing Stone
Your stone must be flat, clean and ready. If it is a water stone, soak it or wet it according to the stone type. Some stones need soaking. Some only need surface water. Flatten the stone if needed. A flat stone is critical because a straight razor edge is long and thin. Uneven stones create uneven edges. Place the stone on a non slip surface. A damp towel can help keep it stable. Do not hone on a dirty stone. Grit, dust or old metal particles can affect the edge.
How to Hone a Straight Razor Step by Step
Step 1: Lay the Razor Flat on the Stone
Place the razor on the stone with both spine and edge touching the surface. The spine sets the correct angle naturally. Do not lift the spine. If you lift it, the angle becomes too steep and the edge can become harsh.
Step 2: Use a Light X Stroke
Move the razor across the stone in an X stroke. The X stroke helps the full edge contact the stone, especially if the blade has a slight smile or the stone is not very wide. The spine should lead the stroke. Keep the blade flat. Use light pressure only.
Step 3: Flip the Razor on the Spine
At the end of the stroke, flip the razor over on its spine. Never roll it over the edge. This is the same safety rule used in stropping. Flipping over the edge can damage the cutting surface.
Step 4: Repeat on the Other Side
Move the razor back across the stone with the other side touching. Keep the same light pressure and flat angle. Try to keep strokes even on both sides.
Step 5: Rinse the Stone When Needed
Metal particles can collect on the stone. Add water and rinse gently when the surface looks dirty. A clean stone gives a cleaner edge.
Step 6: Check the Edge
After a small number of laps, check the edge. Do not hone endlessly without checking progress. You can inspect under light or use a magnifier. You can also test carefully with hair tests, but do not rely on one test alone.
Step 7: Move to a Finer Stone
Once the edge improves, move to a finer stone. Each finer stone should polish the scratches from the previous stone.
Do not skip too many levels if the razor was dull. A clean progression gives a smoother edge.
Step 8: Finish on a High Grit Stone
A high grit finishing stone helps create a smoother shaving edge. Many straight razor users like finishing around 10,000 to 12,000 grit or on a fine natural stone. The finishing stage should use very light pressure.
Step 9: Strop the Razor
After honing, dry the razor carefully. Then use your leather strop. This final stropping step helps refine the edge before shaving.
Step 10: Test the Shave Carefully
The real test is the shave. Use good prep, slick lather plus light pressure. Do not judge the edge only by arm hair or hanging hair tests.
Beginner Honing Routine
Here is a simple routine for a razor that is dull but not damaged.
| Stage | Tool | Action |
| Prep | Clean towel and water | Clean razor and prepare stone |
| Edge refresh | 8,000 grit stone | Light X strokes |
| Polish | 10,000 to 12,000 grit stone | Very light finishing strokes |
| Final refine | Leather strop | Smooth controlled laps |
| Test | Actual shave | Check comfort and cutting |
If the razor has chips or a poor bevel, this routine may not be enough. It may need lower grit work or professional repair.
How Many Strokes Should You Use?
There is no fixed number that works for every razor. The number depends on steel, stone type, pressure, bevel condition plus how dull the edge is. Beginners should use fewer strokes and check often. Too many strokes can create problems if your technique is wrong.
A safe approach is:
| Situation | Suggested Approach |
| Slightly dull edge | Few light laps on a fine stone |
| Edge still cuts but feels rough | Fine stone plus finishing stone |
| Edge pulls badly | May need full progression |
| Chipped edge | Professional repair or careful low grit work |
| Unknown used razor | Professional honing is often safer |
Do not turn honing into guesswork. Check progress often.
How to Test Straight Razor Sharpness
Sharpness tests can help, but none are perfect. The shave test is still the most important.
Arm Hair Test
A sharp razor may cut arm hair above the skin. This is a simple check, but it does not guarantee a smooth face shave.
Thumbnail Test
Some experienced users gently feel how the edge catches on a wet thumbnail. Beginners should be careful with this test because too much pressure can damage the edge.
Hanging Hair Test
A very sharp razor may cut a hanging hair. This test can be inconsistent because hair thickness varies.
Shave Test
This is the real test. A good edge should cut facial hair cleanly without tugging. It should not feel harsh or scratchy.
Common Honing Mistakes
Using Too Much Pressure
Heavy pressure can damage the edge. Straight razors need light contact. Let the stone do the work.
Lifting the Spine
The spine must stay on the stone. Lifting it changes the angle and can create a harsh edge.
Using a Stone That Is Not Flat
An uneven stone creates uneven sharpening. Flatten your stone before honing.
Starting Too Coarse
A rough stone removes more steel. Do not use low grit stones unless the edge truly needs repair.
Honing Too Often
Honing too much can shorten razor life. Strop regularly and hone only when needed.
Flipping Over the Edge
Always flip on the spine. Rolling over the edge can damage the blade.
Skipping the Strop After Honing
A freshly honed edge often benefits from stropping. Do not skip the leather finish.
Expecting Perfection on the First Try
Honing is a learned skill. Your first edge may not be perfect. Practice carefully.
How to Avoid Ruining Your Straight Razor
If you want to protect your razor, follow these rules:
- Use light pressure.
- Keep the spine on the stone.
- Use flat stones.
- Do not rush.
- Check the edge often.
- Avoid low grit stones unless necessary.
- Dry the razor fully after honing.
- Store it away from moisture.
- Practice on a cheaper razor first.
- Use professional help for serious damage.
A good razor can last for years, but careless sharpening can shorten its life quickly.
After Honing Care
After honing, rinse the razor carefully. Dry the blade fully. Pay attention to the pivot area because water can hide there. Strop the razor after it is dry. Then store it in a dry place. Do not leave it wet near the sink. If your razor is carbon steel, moisture control is very important. Rust can damage the edge and blade face. Good straight razor maintenance includes cleaning, drying, stropping, safe storage plus occasional honing.
Professional Honing vs Home Honing
Home honing is rewarding if you enjoy traditional shaving. It gives you control and saves service costs over time. Professional honing is better if you want reliable results. It is also safer for expensive razors, vintage razors or damaged blades.
| Option | Best For | Main Benefit | Main Downside |
| Home honing | Hobbyists and careful learners | Full control over edge care | Requires tools and practice |
| Professional honing | Beginners with valuable razors | More reliable shave ready edge | Costs money each time |
| Mixed approach | Most users | Learn slowly while using expert help | Takes patience |
Many men use both. They send the razor for professional honing first, then maintain the edge with careful stropping and light finishing later.
What to Buy for a Beginner Honing Setup
You do not need a huge collection. Start simple.
| Item | Why You Need It | Beginner Advice |
| Fine honing stone | Refreshes the edge | Start with a trusted fine stone |
| Finishing stone | Polishes the edge | Useful for smooth shave feel |
| Leather strop | Final edge refinement | Essential for straight razor users |
| Flattening stone | Keeps stones level | Important for consistent edges |
| Magnifier | Helps inspect damage | Useful but optional |
| Towel and water bottle | Keeps setup clean | Simple but helpful |
Final Verdict
Learning how to hone and sharpen a straight razor at home gives you more control over your shaving routine. It can save money over time and help you keep your razor performing well but honing requires patience. Start with the right stones, keep the blade flat, use light pressure and check progress often. Do not rush to low grit stones unless the edge is damaged. Do not skip stropping after honing.
If your razor is expensive, chipped or uneven, professional honing is the safer choice. If you enjoy learning traditional shaving skills, home honing can become a useful part of your routine. A sharp straight razor should shave smoothly with light pressure. If the edge tugs, scrapes or feels harsh, the razor needs better maintenance, better honing or professional help.
Final Amazon CTA: Check straight razor honing stones, leather strops, lapping tools and beginner sharpening kits on Amazon to build a reliable home honing setup.
Amazon Affiliate Disclosure: As an Amazon Associate I earn from qualifying purchases. This means we may earn a small commission when you buy through links on this page at no extra cost to you.
FAQs
Can I sharpen a straight razor at home?
Yes, you can sharpen a straight razor at home if you use proper honing stones and careful technique. Beginners should practice slowly and avoid heavy pressure.
Is honing the same as stropping?
No. Honing sharpens the edge using stones. Stropping maintains and polishes the edge using leather.
How often should I hone my straight razor?
Only hone when the razor becomes dull and stropping no longer improves the shave. Honing after every shave is not needed.
What grit stone is best for straight razors?
Fine stones are usually best for straight razor edges. Many users use 8,000 grit for edge refinement and 10,000 to 12,000 grit for finishing.
Can I use a knife sharpener on a straight razor?
No. Most knife sharpeners are too aggressive and can damage the delicate straight razor edge. Use proper honing stones made for fine sharpening.
Why does my straight razor still pull after honing?
The edge may not be fully sharpened, the stone may not be flat or your technique may need improvement. Poor stropping can also make a good edge feel worse.
Should I tape the spine when honing?
Some users tape the spine to protect it. Tape slightly changes the honing angle, so use it consistently if you choose to use it.
Do shavettes need honing?
No. Shavettes use replaceable blades. When the blade gets dull, you replace it.
Is professional honing worth it?
Yes, professional honing is worth it if your razor is expensive, damaged or not shaving well. It is also useful for beginners who want a reliable edge.
Can honing damage a straight razor?
Yes, poor honing can damage the edge or create an uneven bevel. Use light pressure, flat stones and slow strokes to reduce the risk.