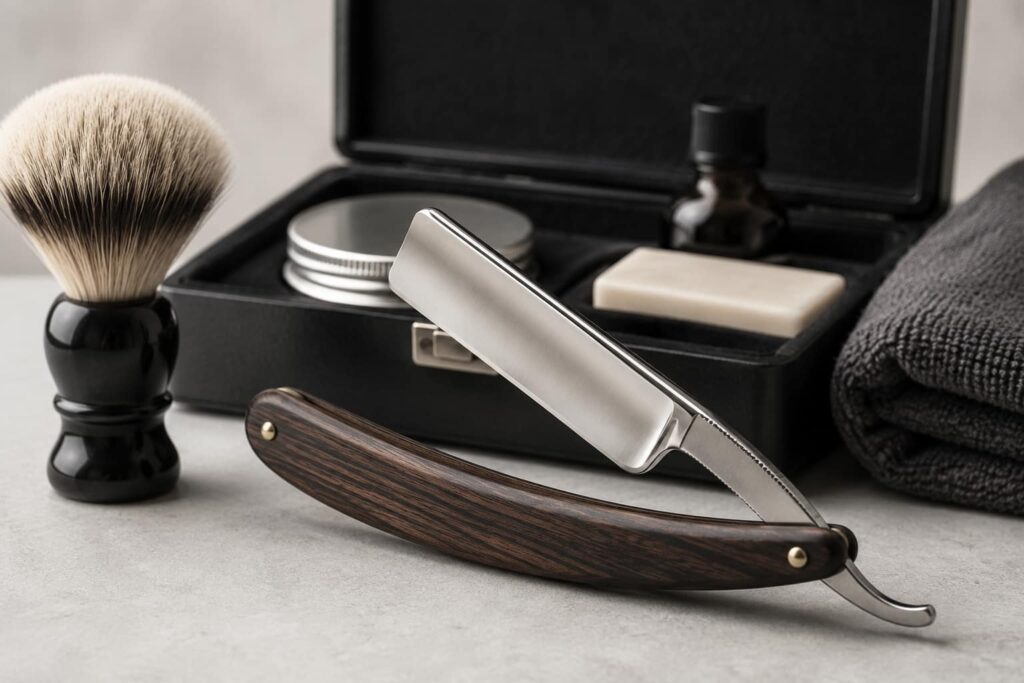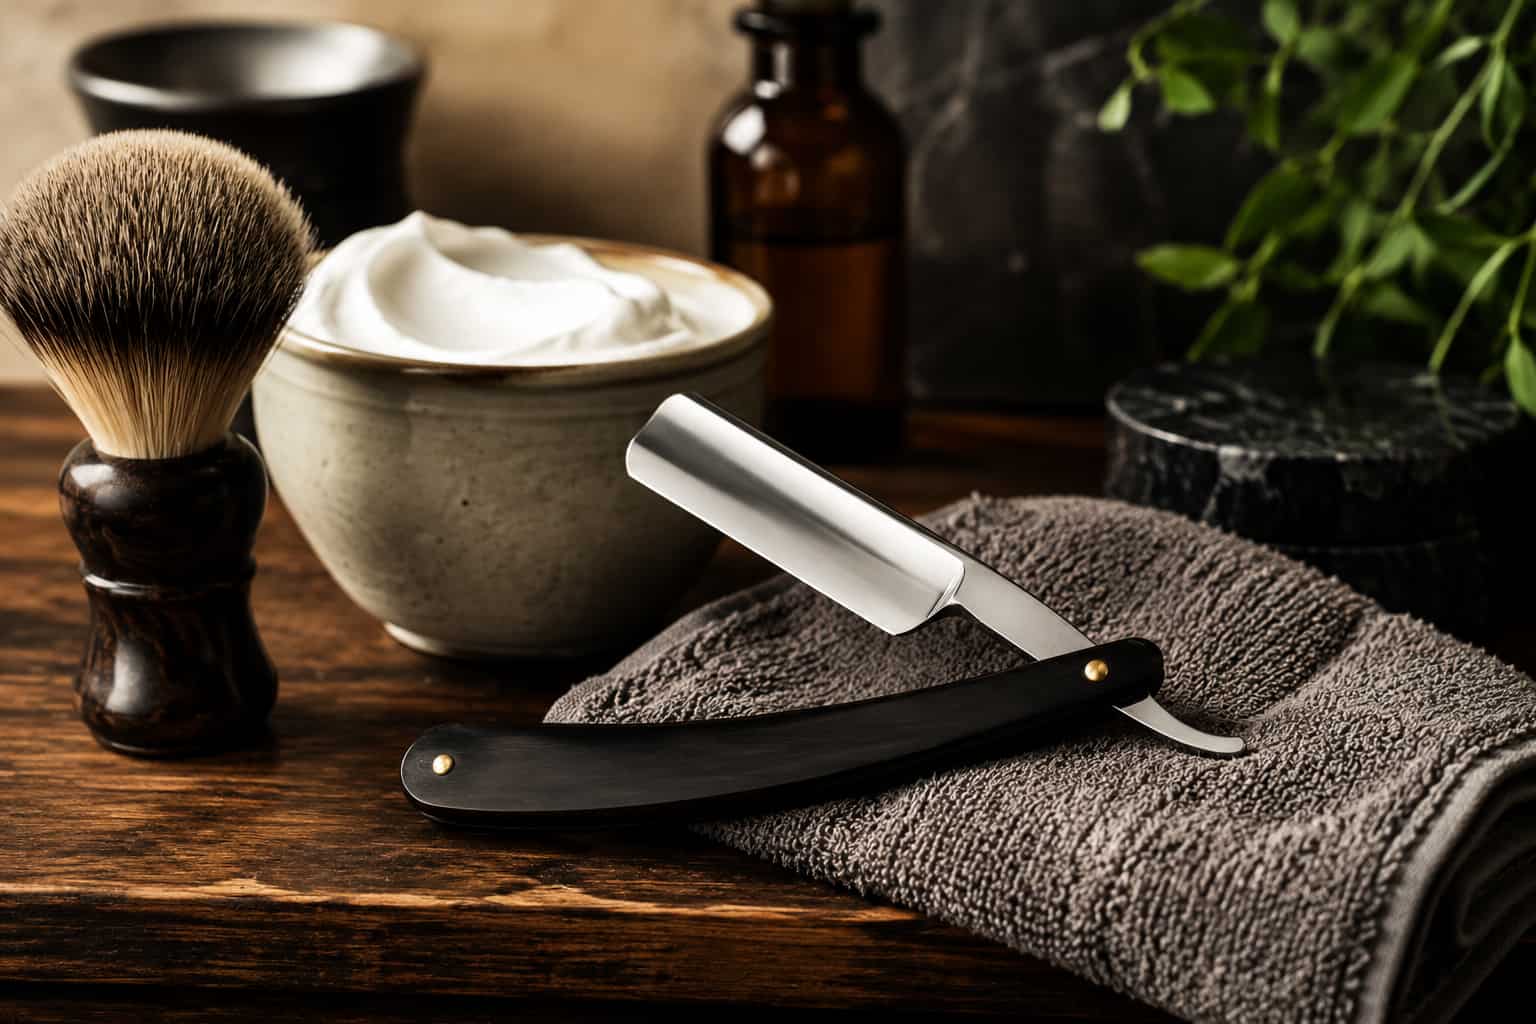
A straight razor shave works best when you follow a proper routine. The razor matters but your preparation, lather, blade angle, pressure, aftercare plus cleaning habits matter just as much. If you skip these steps, even a good razor can feel rough on the skin. A good straight razor shaving routine does not need to be complicated. You need warm water prep, slick shaving cream, a good shaving brush, careful blade control, gentle aftercare plus proper straight razor maintenance after every shave. Once the routine becomes familiar, the whole process feels smooth, calm plus more enjoyable.
This guide will help you build a complete straight razor shaving routine from start to finish. You will learn what tools you need, how to prepare your skin, how to build lather, how to shave safely, how to avoid irritation, how to clean the razor plus how to store everything properly.
Quick Routine Overview
| Routine Stage | What to Do | Main Goal |
| Before shaving | Wash face with warm water | Soften beard hair |
| Pre shave care | Apply oil or cream if needed | Add glide and protection |
| Lather | Use brush and shaving cream | Create slick cushion |
| Stropping | Strop traditional razor | Refresh the edge |
| First pass | Shave with the grain | Remove hair safely |
| Optional second pass | Shave across the grain | Improve closeness |
| Aftercare | Rinse and apply balm | Calm the skin |
| Razor care | Clean, dry and store | Protect blade life |
Why a Routine Matters
Straight razor shaving is not like quickly dragging a cartridge razor across your face. It is a skill based process. Every step helps the next step work better. Warm water softens the beard. Pre shave care reduces drag. A shaving brush builds better lather. Good lather lets the blade glide. Proper angle reduces scraping. Aftercare calms the skin. Straight razor maintenance keeps the blade ready for your next shave.
If one part of the routine is weak, the shave can suffer. For example, poor lather can cause tugging. Too much pressure can cause razor burn. Storing the razor wet can cause rust. A complete routine helps prevent these problems before they start.
Tools You Need for a Straight Razor Shaving Routine
You do not need dozens of products, but you do need the right basics.
| Tool | Why You Need It | Beginner Tip |
| Straight razor or shavette | Main shaving tool | Start with a beginner friendly razor |
| Leather strop | Maintains fixed blade edge | Needed for traditional razors |
| Shaving brush | Builds better lather | Synthetic brushes are easy to maintain |
| Shaving cream or soap | Gives slickness | Avoid dry thin foam |
| Pre shave oil or cream | Adds extra glide | Useful for coarse beards |
| Aftershave balm | Soothes skin | Better than harsh splash for sensitive skin |
| Soft towel | Warm prep and drying | Use a clean towel |
| Razor case or stand | Safe storage | Keep razor dry |
| Blade disposal bank | For shavettes | Safely stores used blades |
A beginner can start with a simple setup. Razor, brush, shaving cream, aftershave balm plus towel are enough for the first routine. If you use a traditional fixed blade razor, add a leather strop.
Step 1: Prepare Your Face
Preparation is the foundation of a comfortable shave. Straight razors work better when beard hair is soft and the skin is clean.
Wash Your Face
Start by washing your face with warm water. This removes oil, sweat plus dirt from the skin. It also begins softening the beard.
A warm shower before shaving is even better. If you do not shower first, place a warm wet towel on your face for two to three minutes.
Map Your Beard Growth
Before shaving, feel your beard with your fingers. Hair does not grow in the same direction everywhere. Your cheeks may grow downward while your neck may grow sideways or upward. Knowing your grain direction helps you shave with the grain first. This reduces irritation, especially for beginners.
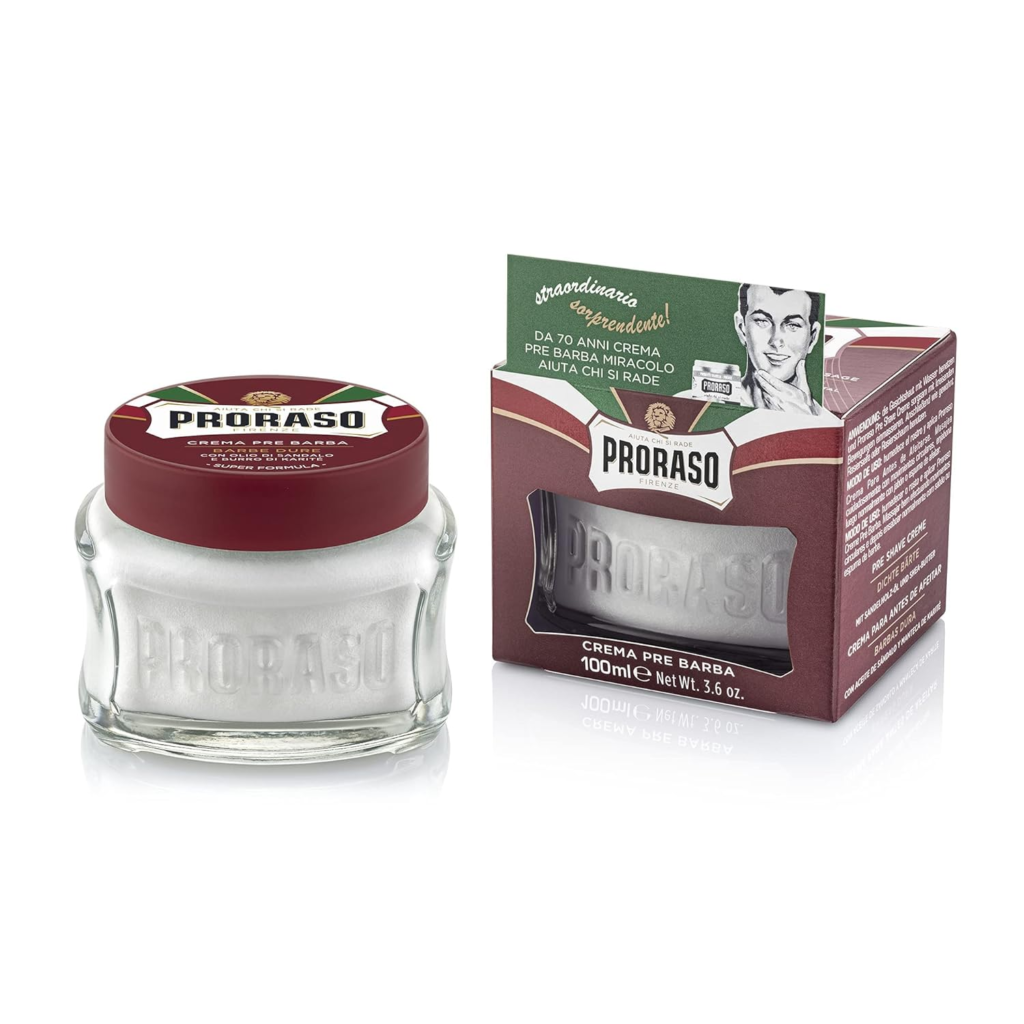
Use Pre Shave Care
Pre shave care can make a big difference if your skin feels dry or your beard is coarse. A small amount of pre shave oil or cream adds a smooth layer between your skin and the blade. Do not apply too much. Too much oil can make the blade feel slippery in a bad way. A thin layer is enough.
Amazon CTA: Check pre shave oils and pre shave creams on Amazon if your razor often drags during the first pass.
Step 2: Build a Good Lather
A straight razor needs slick lather. Thick foam is not enough if it lacks glide. The lather should stay wet, creamy and slippery.
Use a Shaving Brush
A shaving brush helps lift beard hair and spread cream evenly. It also creates better lather than fingers alone. Synthetic shaving brushes are easy for beginners because they dry fast and need less care. Natural hair brushes can feel more traditional, but they may need more maintenance.
If you want to improve your routine, compare shaving brushes before buying. A better brush can make your lather more consistent.
Bowl Lather or Face Lather
You can build lather in a bowl or directly on your face. Bowl lathering gives more control over water and cream. Face lathering helps lift hair while building lather. Both methods work.
What Good Lather Looks Like
Good lather should be:
- Creamy.
- Slick.
- Hydrated.
- Smooth.
- Stable on the face.
- Easy for the blade to glide through.
If the lather looks dry or airy, add a few drops of water and keep working it. If it becomes runny, use more cream or soap.
Step 3: Prepare the Razor
If you use a shavette, insert a fresh or sharp blade. Check that the blade is seated evenly. If one corner sticks out more than the other, fix it before shaving. If you use a traditional straight razor, strop it before shaving. Stropping helps refresh the edge. Keep the razor flat on the strop, move spine first, use light pressure plus flip on the spine.
A poorly maintained edge can tug hair, so do not skip this part with a fixed blade razor.
Step 4: Start with the First Pass
The first pass should usually be with the grain. This means shaving in the same direction your hair grows.
Start on the Cheeks
The cheeks are easier because the surface is flatter. Stretch the skin gently with your free hand. Place the razor at a shallow angle. Use short strokes. Do not try to shave large areas in one long stroke. Beginners should use small controlled strokes.
Keep the Pressure Light
A straight razor does not need pressure. Let the blade cut. Your hand should only guide it. If the razor pulls, do not press harder. Check your lather, angle, blade sharpness or prep.
Keep the Angle Shallow
The blade angle should feel shallow, not steep. If the spine is lifted too far from the skin, the blade may scrape. A good beginner angle is usually around 20 to 30 degrees. You do not need to measure it exactly. Just keep the blade low and controlled.
Rinse the Blade Often
Rinse away lather and hair from the razor. A clean blade moves better and gives you more visibility.
Step 5: Shave Difficult Areas Carefully
Some areas need extra patience.
Jawline
The jawline is curved, so make the skin flatter with gentle stretching. You can tilt your head or pull the skin upward.
Use short strokes. Do not force the blade around the curve.
Neck
The neck is sensitive for many men. Hair direction often changes here. Shave with the grain first and avoid extra passes if your skin feels irritated. Use very light pressure on the neck.
Chin
The chin has thick hair and curved skin. Stretch your lower lip upward or sideways to flatten the area. Use small strokes. Reapply lather if it starts to dry.
Mustache Area
The upper lip area needs tiny careful strokes. Stretch your upper lip downward over your teeth. Keep the razor angle shallow. If you are a beginner, you can skip this area with the straight razor at first and finish with a safer tool.
Step 6: Decide If You Need a Second Pass
A second pass is optional. Beginners should not chase perfect smoothness right away. If your skin feels calm after the first pass, reapply lather and shave across the grain. This means shaving sideways to the direction of hair growth. Avoid going against the grain until your technique improves. Against the grain shaving can give a closer result, but it increases irritation risk.
| Pass | Direction | Beginner Recommendation |
| First pass | With the grain | Best starting point |
| Second pass | Across the grain | Optional after practice |
| Third pass | Against the grain | Avoid at first |
For many men, one with the grain pass plus one across the grain pass is enough.
Step 7: Rinse and Apply Aftercare
After shaving, rinse your face with cool water. This removes leftover lather and helps calm the skin. Pat your face dry with a clean towel. Do not rub hard.
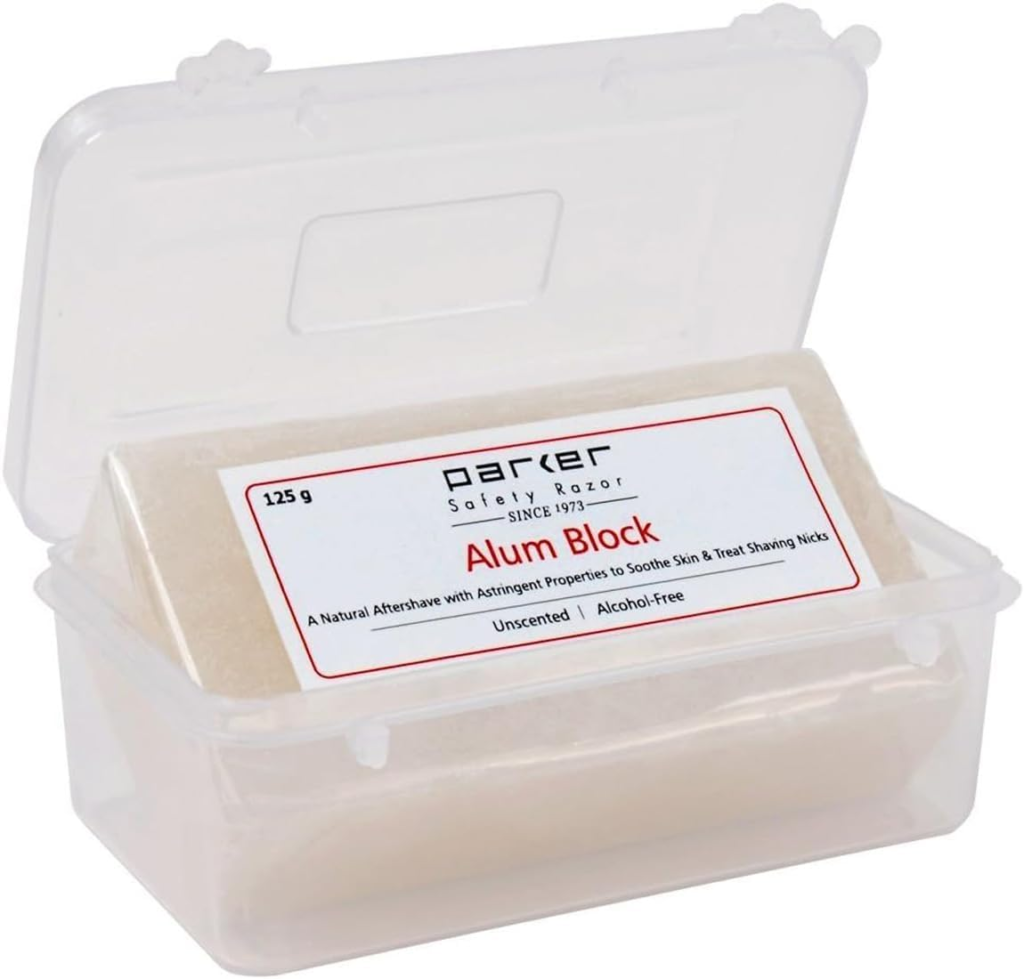
Apply an aftershave balm. A balm is usually better for beginners than a strong alcohol splash because it feels more soothing. If your skin is oily, choose a light balm. If your skin is dry, choose a more moisturizing balm. Aftercare is not optional if your skin gets tight, red or dry after shaving.
Amazon CTA: Check gentle aftershave balms and alum blocks on Amazon if you often get redness or small nicks.
Step 8: Clean the Razor After Shaving
A proper routine does not end when your face is clean. The razor also needs care. Rinse the blade gently to remove lather and hair. Do not let soap dry on the blade. Wipe the blade carefully with a soft towel. Keep your fingers away from the edge.
Dry the pivot area too. Water can hide there, especially in folding razors. If you use a shavette, remove the blade when needed and dispose of it safely. Do not leave wet used blades sitting inside the holder for a long time.
Step 9: Store the Razor Properly
Straight razor maintenance is important if you want your razor to last. After drying, let the razor air dry briefly in a safe place. Then store it somewhere dry. Avoid damp bathroom drawers if your bathroom stays humid after showers.
For carbon steel razors, consider a tiny amount of blade oil if storing for several days or longer. Use only a thin layer. A razor case is useful, but never put a wet razor inside a closed case. Moisture trapped in a case can damage the blade.
👉 Check Complete Shaving Kit Price on Amazon
Daily Straight Razor Shaving Routine
Here is a simple daily routine for regular users.
| Stage | Action |
| Before shave | Wash face with warm water |
| Prep | Apply pre shave product if needed |
| Lather | Build slick lather with a brush |
| Razor prep | Strop traditional razor or load shavette blade |
| First pass | Shave with the grain |
| Optional pass | Shave across the grain if skin feels good |
| Aftercare | Rinse, dry face and apply balm |
| Razor care | Clean, dry and store razor |
This routine is simple enough for regular shaving and careful enough to protect your skin.
Weekly Routine for Better Results
A weekly routine helps you improve comfort and maintain your tools.
| Weekly Task | Why It Helps |
| Inspect razor edge | Finds dullness or damage early |
| Clean around pivot | Prevents buildup |
| Check your strop | Makes sure leather is clean |
| Wash shaving brush | Removes soap residue |
| Review blade performance | Helps decide when to replace or hone |
| Clean storage area | Reduces moisture risk |
Good habits keep the routine smooth.
Straight Razor Routine for Sensitive Skin
If you have sensitive skin, keep your routine simple and gentle. Use warm water prep, slick shaving cream, light pressure plus fewer passes. Avoid against the grain shaving at first. Use a soothing balm after shaving.
Do not shave over irritated skin. Give your skin a rest if it feels hot or sore. For sensitive skin, your routine should focus on comfort instead of closeness.
Straight Razor Routine for Coarse Beards
Coarse beards need better softening and slicker lather. Spend extra time with warm water prep. Use pre shave oil or cream. Let the lather sit for a minute before shaving. Use short strokes and rinse the blade often. If the blade tugs, check sharpness. A dull blade is frustrating on coarse hair.
A traditional razor must be properly stropped. A shavette blade should be replaced before it becomes dull.
Common Routine Mistakes
Skipping Warm Prep
Cold dry hair is harder to cut. Warm water makes the shave easier.
Using Poor Lather
Dry lather causes drag. A straight razor needs slickness.
Pressing the Blade
Pressure causes cuts and irritation. Use the lightest touch possible.
Shaving Too Fast
Straight razor shaving needs patience. Slow controlled strokes are safer.
Doing Too Many Passes
More passes can mean more irritation. Beginners should keep it simple.
Ignoring Aftercare
Aftershave balm helps your skin recover. Do not skip it if your skin feels tight.
Poor Razor Storage
A wet blade can rust. Drying and storage are part of the routine.
Best Routine by Experience Level
| Experience Level | Recommended Routine |
| Complete beginner | Shave cheeks only, one pass with the grain |
| Beginner | Full face with the grain, finish hard areas carefully |
| Intermediate | With the grain plus across the grain |
| Experienced | Add against the grain only if skin handles it |
| Sensitive skin user | One pass with the grain, soothing balm |
| Coarse beard user | Longer prep, slick lather, sharp blade |
How Long Should a Straight Razor Routine Take?

A beginner routine may take 25 to 40 minutes because you are learning. That is normal. Do not rush. With practice, many users can complete a careful straight razor shave in 15 to 25 minutes. A quick cheek cleanup or beard line trim can take less time.
Straight razor shaving is not the fastest method. It is better for men who want control and enjoy the process.
What to Buy for a Complete Routine
| Product Type | Why It Matters |
| Beginner straight razor or shavette | Gives you the main shaving tool |
| Shaving brush | Builds better lather |
| Quality shaving cream | Adds glide |
| Pre shave oil or cream | Helps reduce drag |
| Aftershave balm | Soothes the skin |
| Leather strop | Needed for fixed blade razors |
| Razor oil | Helps with carbon steel storage |
| Alum block | Useful for small nicks |
| Razor case | Helps with safe storage |
| Blade bank | Needed for shavettes |
Final Verdict
A good straight razor shaving routine is built around preparation, control, aftercare plus tool maintenance. Start with warm water. Use proper pre shave care if needed. Build slick lather with a shaving brush. Use a shallow angle, light pressure plus short strokes. Shave with the grain first. Add extra passes only when your skin can handle them.
After shaving, rinse with cool water and apply balm. Then clean, dry and store the razor properly. This final care step protects your blade and makes the next shave better. Do not rush the process. A straight razor routine becomes easier with practice. Once you understand the steps, it can turn shaving from a boring task into a grooming ritual you actually enjoy.
Final Amazon CTA: Check straight razors, shaving brushes, creams, strops, aftershave balms plus storage cases on Amazon to create a complete straight razor shaving routine.
AMAZON AFFILIATE DISCLAIMER
This post contains affiliate links. If you purchase through our links, we may earn a small commission at no extra cost to you.
FAQs
What is a good straight razor shaving routine for beginners?
A good beginner routine includes warm water prep, slick lather, one pass with the grain, cool water rinse, aftershave balm and proper razor cleaning after shaving.
Do I need pre shave oil with a straight razor?
You do not always need it, but pre shave oil can help if your beard is coarse or your skin gets irritated easily.
Should I shave with or against the grain?
Beginners should shave with the grain first. Across the grain can be added later. Against the grain should be avoided until your technique improves.
How many passes should I do with a straight razor?
Start with one pass. Add a second pass only if your skin feels comfortable. Too many passes can cause irritation.
Do I need a shaving brush for a straight razor?
A shaving brush is strongly recommended because it helps create better lather and lifts beard hair for a smoother shave.
How often should I clean my straight razor?
Clean and dry your straight razor after every shave. This helps prevent rust, residue buildup and edge problems.
Can I use canned foam with a straight razor?
You can, but it is not ideal. A straight razor works better with slick shaving cream or soap that gives better glide.
How long does a straight razor shave take?
Beginners may need 25 to 40 minutes. With practice, a careful shave can take around 15 to 25 minutes.
What should I apply after a straight razor shave?
Use cool water first, then apply a gentle aftershave balm. This helps calm the skin and reduce dryness.
Should I use a straight razor every day?
You can use it daily if your skin handles it well. If you notice irritation, shave less often or use fewer passes.