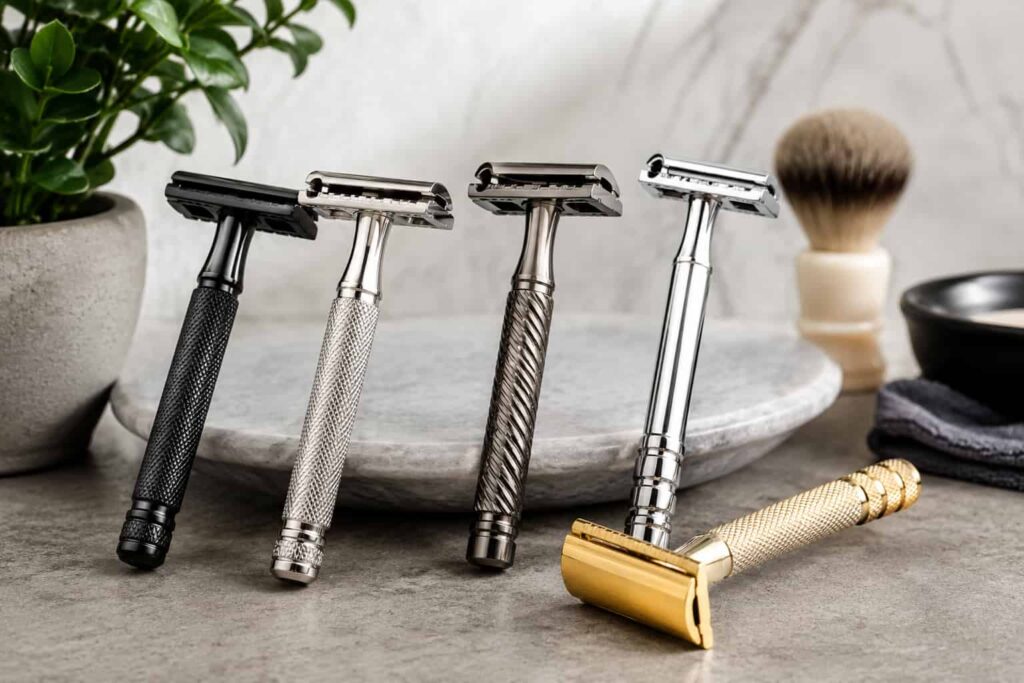
A safety razor is one of the most durable tools you will ever own in your grooming kit. A well-made metal razor, given basic care, lasts for decades. Some wet shavers use razors that were manufactured before they were born. The difference between a razor that lasts a lifetime and one that deteriorates within a year almost always comes down to maintenance habits, and the good news is that safety razor maintenance is genuinely simple.
Most people overcomplicate it. You do not need special cleaning solutions, elaborate drying rituals, or weekly deep-cleaning sessions. You need a handful of consistent habits that take less than two minutes per shave session to execute. Build those habits early and your razor will reward you with consistent, reliable performance for as long as you choose to use it.
This guide covers everything you need to know about cleaning your safety razor, storing it correctly, changing blades safely, and keeping the entire razor in top condition for long-term use. Whether you have just bought your first razor or have been wet shaving for years and want to refine your maintenance routine, this is the complete reference.
Why Maintenance Matters
Before getting into the specifics, it is worth understanding what actually happens to a safety razor when it is not maintained properly. This context makes the maintenance habits feel purposeful rather than arbitrary.
Soap Scum and Hard Water Deposits
Every shave leaves residue on your razor. Shaving soap, cream, skin oils, and hard water minerals all deposit on the razor head, handle threads, and blade gap over time. Fresh residue rinses off easily. Accumulated residue hardens into a crust that is much harder to remove and, over time, can affect blade alignment and shave quality.
Hard water deposits are particularly stubborn. If you live in a hard water area, you will notice white or grey mineral buildup on your razor within days of skipping a thorough rinse. This buildup can accumulate in the blade gap, reduce the precision of the blade alignment, and make the razor head harder to disassemble for blade changes.
Blade Corrosion
A blade left wet between shaves corrodes faster than one that is allowed to dry completely. The corrosion starts at the cutting edge and works inward, dulling the blade long before it has delivered its maximum number of comfortable shaves. Proper drying after each shave extends blade life meaningfully.
Handle Deterioration
Chrome-plated handles can develop rust spots if moisture is allowed to pool in the knurling grooves or thread cavities for extended periods. Stainless steel handles are significantly more resistant to this but not entirely immune. Brass handles can develop a patina that some shavers find attractive and others do not.
The threads that connect the handle to the head are particularly vulnerable to moisture damage on zinc alloy and chrome-plated brass razors. Keeping the threads dry and occasionally cleaning them prevents the stiffening and eventual corrosion that makes disassembly difficult.
Blade Misalignment Over Time
Grit and buildup between the blade and the head components can shift blade positioning over time. A blade that is even slightly off-center produces an inconsistent shave that is difficult to diagnose by feel alone. Regular cleaning keeps the contact surfaces between blade, base plate, and top cap clean and precise.
👉 Shop Safety Razor Cleaning and Maintenance Products on Amazon
After Every Shave: The Essential Routine

The most important maintenance happens immediately after each shave. These habits take less than sixty seconds and prevent the majority of maintenance problems before they start.
Rinse Thoroughly Under Running Water
As soon as you finish shaving, hold the razor under a strong flow of warm running water. Move the razor slowly back and forth under the flow to flush water through the blade gap and around the head from multiple angles. This removes the fresh hair, soap, and skin debris that accumulates during the shave.
Pay particular attention to the blade gap area where hair tends to pack most densely. For a three-piece razor, you can open the head slightly without fully disassembling to allow water to flush the gap more thoroughly. For a butterfly razor, open the flaps briefly under the water flow.
Spend at least twenty to thirty seconds on this rinse. It is the single most important maintenance step and the one most people rush through.
Shake Off Excess Water
After rinsing, give the razor a firm shake to remove the majority of water from the head and handle. Three to four firm shakes is enough. Do not tap the razor against the sink or any hard surface to dislodge water. Tapping can misalign the blade if done repeatedly over time and risks damaging the razor head on ceramic sinks.
Never Dry With a Towel
This is one of the most common razor care mistakes. Drying a safety razor with a towel seems logical but the fibres of the towel can catch on the blade edge, which dulls the blade and can leave fibres in the blade gap. Air drying is always the correct method.
Place the razor upright in a razor stand or on a clean dry surface where air can circulate around the head. Standing upright is better than lying flat because it prevents water pooling around the head and allows any remaining moisture to drip away from the blade gap.
Leave It Assembled or Disassembled?
This is a matter of preference among wet shavers and there is no universal right answer. Leaving the razor assembled is the most convenient approach and perfectly adequate for daily maintenance. The blade stays aligned between shaves and there is no daily reassembly required.
Some shavers prefer to open the razor after every shave to allow air to circulate directly around the blade. This produces slightly faster drying and is a good habit for shavers in humid environments where moisture lingers. If you choose this approach, place the components separately on a clean surface where they will not fall.
Weekly Maintenance: Deep Cleaning
A more thorough clean once a week prevents the buildup that a daily rinse alone cannot fully address. This takes five to ten minutes and makes a meaningful difference to both razor performance and longevity.
What You Need
You need a soft-bristle toothbrush, a small bowl, warm water, and either a drop of dish soap or a cup of white vinegar. That is all. No special razor cleaning products are required, though dedicated products exist if you prefer them.
The Weekly Cleaning Process
Fill a small bowl with warm water and add either a small drop of dish soap or a tablespoon of white vinegar. For chrome-plated and zinc alloy razors, dish soap is the safer choice. White vinegar is excellent for dissolving mineral deposits from hard water but should be used diluted and not left in contact with chrome plating for extended periods.
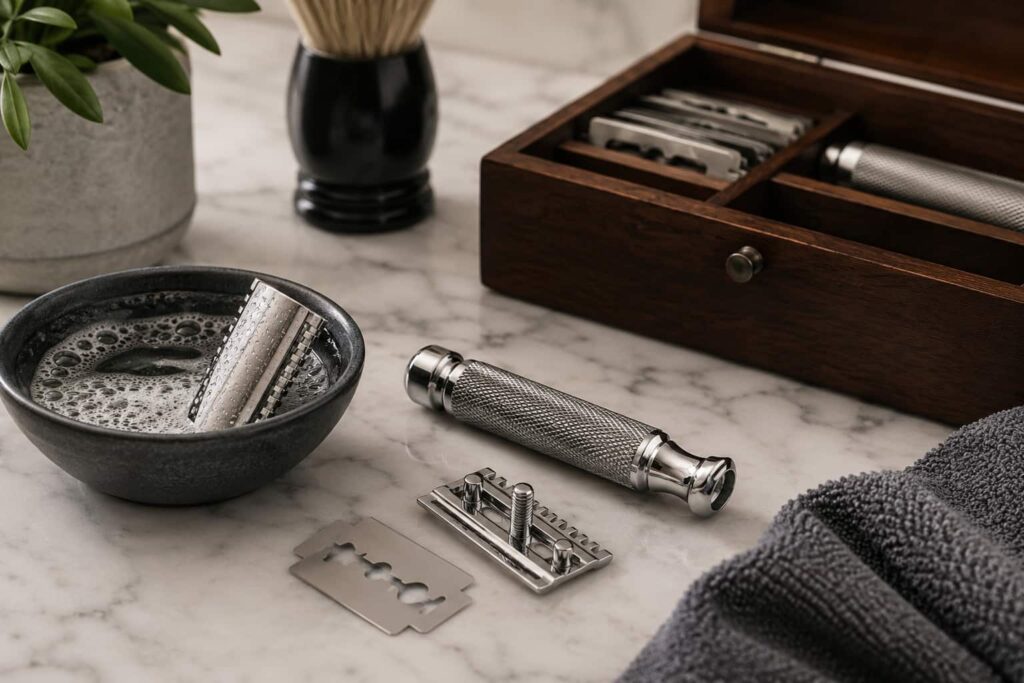
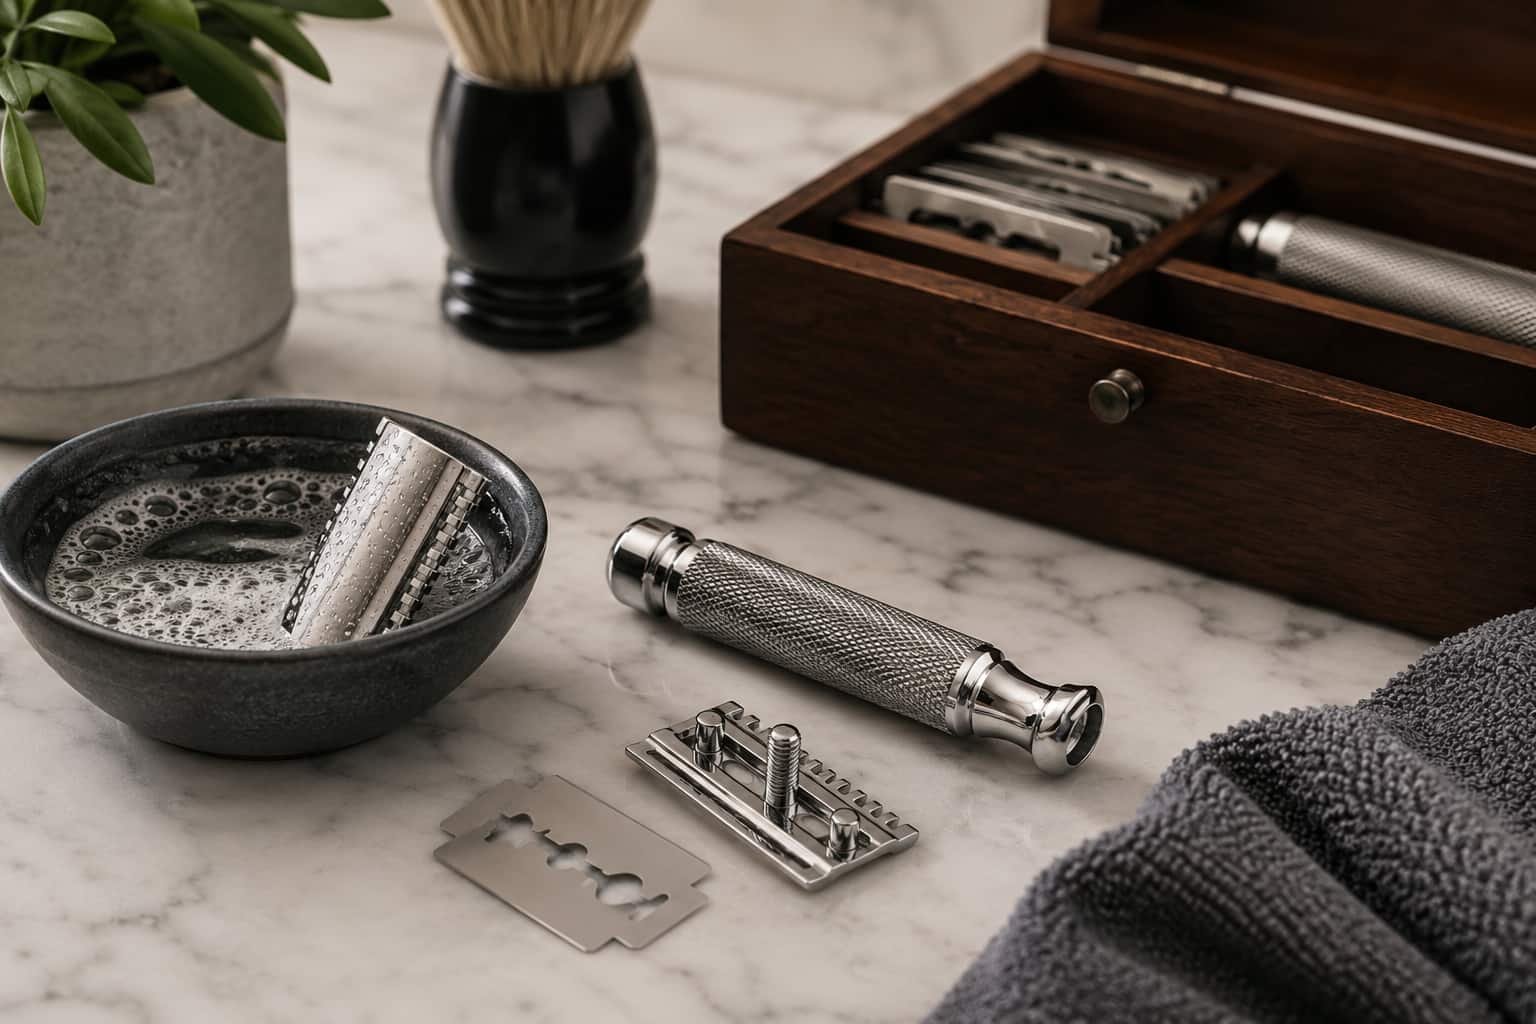
Disassemble the razor completely. For a three-piece razor, unscrew the handle, separate the top cap and base plate, and carefully remove the blade. Handle the blade by its short ends only. Place the blade in a safe container or blade bank while you clean.
Place the head components in the bowl and allow them to soak for two to three minutes. This softens any accumulated soap scum or mineral deposits and makes them significantly easier to remove.
Use the soft toothbrush to gently scrub all surfaces of the top cap, base plate, and handle. Pay particular attention to the threads on the handle and head post, the knurling grooves on the handle, and the underside of the top cap where soap residue accumulates most heavily. Use light pressure. The goal is to dislodge loose buildup, not to scrub the plating off.
Rinse all components thoroughly under warm running water until no soap residue remains. Shake off excess water, then place all components on a clean dry surface and allow to air dry completely before reassembling.
Dealing With Stubborn Hard Water Deposits
If you have significant mineral buildup that does not respond to a standard weekly clean, a longer soak in undiluted white vinegar is the most effective solution. Submerge the disassembled razor head components in undiluted white vinegar for fifteen to thirty minutes. The acidity dissolves mineral deposits effectively without damaging metal surfaces.
After the vinegar soak, scrub gently with the toothbrush and rinse very thoroughly. Make sure no vinegar residue remains in the thread areas before reassembling.
For chrome-plated razors, do not leave components soaking in undiluted vinegar for more than thirty minutes. Extended contact can begin to affect the chrome plating on lower-quality finishes.
Cleaning the Handle Threads
The threads on both the handle and the razor head post are easy to overlook during cleaning but are actually among the most important areas to keep clean. Grit and soap buildup in the threads makes the razor harder to disassemble over time and, left long enough, can cause corrosion that permanently stiffens the assembly.
Use the toothbrush to clean the thread grooves directly during your weekly clean. A few strokes along the thread direction on both the handle and head post is enough to keep them clear.
👉 Browse Safety Razor Maintenance Products on Amazon
Monthly Maintenance: Inspection and Care
Once a month, take a few minutes to inspect your razor for signs of wear or developing problems. Catching issues early prevents them from becoming serious.
Check the Chrome or Plating
Look at the chrome plating on the razor head and handle under good light. Minor surface scratches are cosmetic and do not affect performance. Watch for any spots where the plating appears to be lifting, pitting, or developing rust underneath. Small rust spots can be addressed early with a light application of oil. Significant plating damage on the head may eventually affect blade alignment and is a sign that the razor is approaching the end of its service life.
Check the Threads
Screw and unscrew the handle fully and feel for any roughness, resistance, or grinding sensation in the threads. Smooth, easy thread operation is a sign of a clean, well-maintained razor. Any roughness signals buildup in the threads that needs addressing with a thorough clean.
Check the Head Alignment
After reassembling the razor with a fresh blade, look at the head from directly in front. The blade should protrude evenly on both sides. If one side shows significantly more blade than the other, the head components may have a small amount of buildup affecting seating, or there may be minor wear to the head post. Clean thoroughly and reassemble. If misalignment persists, inspect the base plate and top cap seating surfaces for damage.
Lubrication for Moving Parts
If your razor has moving parts including adjustable dial mechanisms on vintage adjustables or butterfly flaps on butterfly-opening razors, a tiny amount of mineral oil applied to the mechanism once a month keeps it operating smoothly. Use the absolute minimum amount of oil. Excess oil attracts dust and hair debris and can become counterproductive.
Blade Changing: Complete Guide
Changing blades safely and correctly is the most technically demanding part of safety razor maintenance, and it is where most safety-related incidents with safety razors actually occur. The razor is not dangerous during shaving for an experienced user. It is the blade handling process where attention matters most.
How Often to Change Blades
Blade life varies significantly based on beard or body hair coarseness, shaving frequency, and the quality of blades you are using. Here are the general guidelines:
For men shaving faces, a blade change every five to seven shaves is appropriate for most beard types. Men with very coarse or dense beards may need to change after three to four shaves. The how often you should change your safety razor blade guide on this site covers every sign of a blade past its prime in full detail.
For women shaving legs and body areas, change blades every three to four shaves. The larger surface area dulls blades faster than facial shaving and using a dull blade on the sensitive inner thigh or bikini area is one of the most reliable ways to cause post-shave irritation.
The universal signal to change your blade is feel, not a fixed number. When the shave starts to feel like the blade is dragging or pulling rather than gliding cleanly, that blade needs to be replaced regardless of how many shaves it has done.
The Signal Signs of a Dull Blade
Learning to recognize a dull blade before it causes a problem shave is one of the most useful skills a wet shaver can develop. Here are the reliable indicators:
The most common sign is a dragging or tuggy sensation during the shave where there was previously a smooth glide. The blade is no longer sharp enough to cut cleanly at the surface and is instead pulling hair before severing it.
A second sign is increased pressure required to get a clean cut. If you notice yourself pressing slightly harder than usual to achieve the same cutting result, the blade is telling you it needs replacing.
A third sign is increased post-shave irritation despite no change in technique. A dull blade causes more mechanical trauma to the skin than a sharp one even when angle and pressure are correct.
A fourth sign is visible oxidation or discoloration on the blade. Any rust, spotting, or discoloration means the blade should be changed immediately regardless of how many shaves it has done.
How to Remove a Used Blade Safely
Never touch the cutting edges of a used blade with bare fingers. The long edges of a DE blade are extremely sharp even when considered dull for shaving purposes.
For a three-piece razor, unscrew the handle and separate the head components. The used blade will sit on the base plate. Hold the blade by its short ends only. Lift it carefully and transfer it directly to your blade bank.
For a butterfly razor, hold the razor over your blade bank or a safe surface before opening the butterfly flaps. Open the flaps, allow the blade to drop or tilt it carefully by the short ends into the blade bank. Never open a butterfly razor over the sink or floor where a falling blade can cause injury or damage.
If a blade is stuck to the top cap or base plate from soap residue, do not try to pry it off with a finger. Run warm water over the head to soften the residue and the blade will release naturally.
How to Load a New Blade Safely
Remove the new blade from its packaging by the short ends only. Most blade packaging folds or slides open to expose the short ends first without requiring you to touch the cutting edges.
For a three-piece razor, place the new blade flat on the base plate. The holes or slots in the blade will align with the post on the base plate. Place the top cap over the blade, aligning the top cap post with the handle post, and screw the handle back on until finger-tight. Check from the front that the blade is centered and protrudes evenly on both sides before shaving.
For a butterfly razor, hold the razor head above your palm and open the butterfly flaps. Place the new blade flat on the exposed head with the blade holes aligned with the head posts. Close the flaps by twisting the handle base until the mechanism is fully closed. Check blade centering before shaving.
Never force a blade into position. If it does not seat naturally and evenly with minimal pressure, something is misaligned. Open the razor, remove the blade by the short ends, and try again.
Safe Blade Disposal
Used blades are extremely sharp and must be disposed of safely. Wrapping a used blade in tissue paper and placing it loose in the bin is not safe. The blade will cut through tissue easily and presents a genuine risk to anyone handling waste.
The correct disposal method is a blade bank. A blade bank is a small metal or plastic container with a slot in the top sized to accept used blades. Drop used blades in through the slot, and they are contained safely until the bank is full. Most blade banks hold between 50 and 100 blades before they need to be sealed.
When a blade bank is full, seal it with tape and either place it in your general waste bin or take it to a metal recycling facility if one accepts small metal items in your area. Many pharmacies also accept used razor blade disposal in some countries.
You can make a simple blade bank from an empty metal tin with a slot cut in the lid if you do not want to purchase one. The commercial blade banks are inexpensive and worth buying, but a tin works perfectly well.
👉 Shop Blade Banks and Disposal Containers on Amazon
Storage: How to Keep Your Razor in Top Condition
How and where you store your safety razor between shaves has a significant impact on its long-term condition.
Use a Razor Stand
A razor stand is the single best storage upgrade for any safety razor user. A stand holds the razor upright with the head elevated and the handle pointing down, which allows any residual water in the head to drip away naturally rather than pooling around the blade gap. It also keeps the razor off the bathroom shelf surface where it would otherwise sit in any water that pools there.
Razor stands are available in a wide range of materials and styles from simple chrome wire stands to weighted resin stands to matching sets that coordinate with specific razor brands. The material matters less than the function. Any stand that holds the razor upright and off the surface works well.
Keep It Away From the Shower Spray Zone
Storing your razor directly in the shower spray zone where it gets wet during every shower without being used is unnecessary and counterproductive. The repeated wetting and partial drying accelerates blade corrosion and handle wear. Store the razor in a dry area of the bathroom and only bring it into the shower when you intend to shave.
Avoid Humid Storage Areas
Closed bathroom cabinets with poor ventilation maintain high humidity that accelerates corrosion on all metal surfaces. If you store your razor in a cabinet, make sure the cabinet is not airtight and has adequate ventilation. A slightly open cabinet door is better than a sealed one.
Travelling With Your Safety Razor
Safety razor blades are prohibited in carry-on luggage on most airlines. You have two options when travelling with a safety razor. The first is to travel with the razor but without blades in your carry-on, purchasing blades at your destination. The second is to pack the razor in checked luggage.
If you pack a safety razor in checked luggage, either remove the blade entirely and pack it separately or travel with an empty razor and buy blades on arrival. Some wet shavers keep a dedicated travel razor specifically for checked luggage travel.
The best travel safety razors guide on this site covers TSA-friendly options in detail for frequent travellers.
Specific Maintenance by Razor Type
Different razor designs have slightly different maintenance needs. Here is a quick guide by type.
Three-Piece Razors
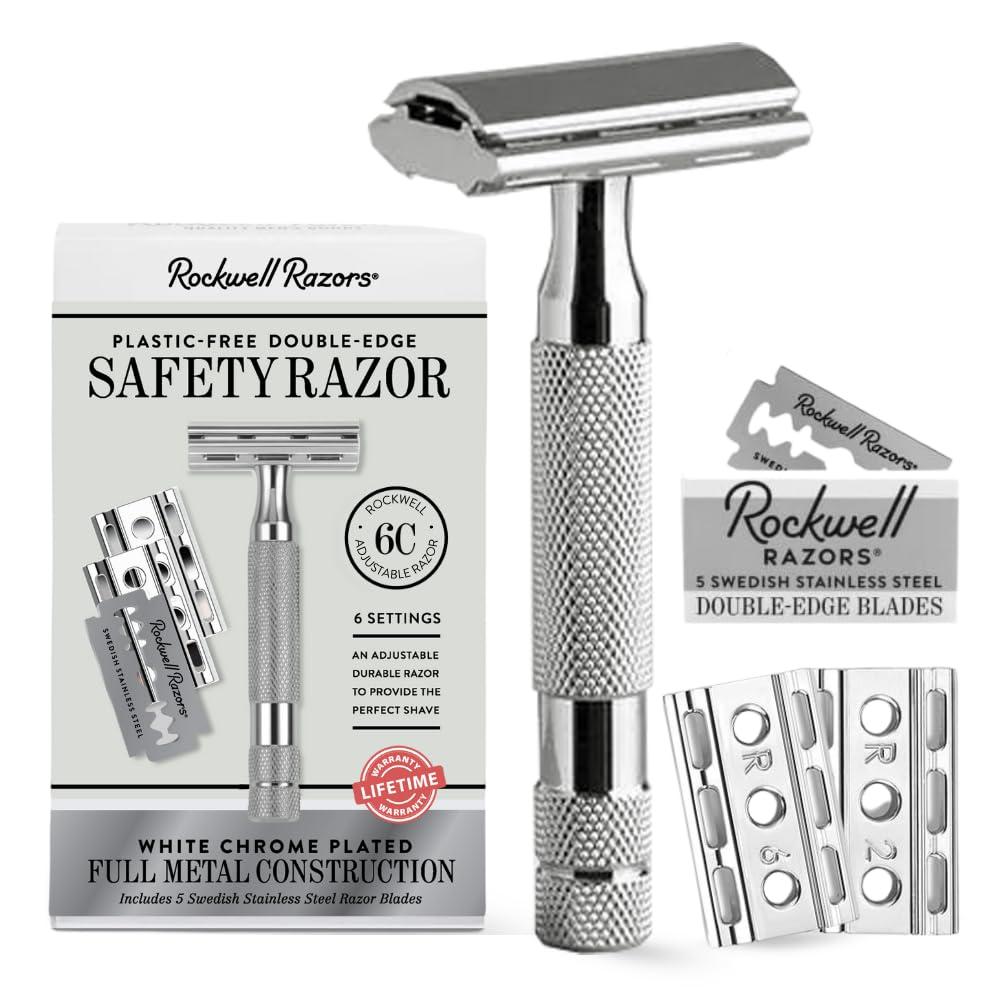
Three-piece razors are the easiest to maintain because they fully disassemble into three components that can be cleaned individually. The Merkur 34C, Edwin Jagger DE89, and most classic safety razors fall into this category. Weekly disassembly for cleaning is straightforward and the absence of mechanical parts means there is very little to go wrong.
The main maintenance consideration for three-piece razors is the thread connection between handle and head. Keep threads clean and dry to prevent stiffening. Do not overtighten when reassembling. Finger-tight is sufficient.
Two-Piece Razors
Two-piece razors have a fixed top cap and a base plate that screws onto the handle. The top cap and base plate do not separate, which means the cleaning access is slightly less complete than a three-piece design. Thorough rinsing and weekly toothbrush cleaning of the blade gap area is more important for two-piece razors precisely because full disassembly is not possible.
Butterfly Razors
Butterfly razors have the most mechanical complexity and require the most maintenance attention. The butterfly flap mechanism has pivot points, springs, and contact surfaces that accumulate debris faster than solid head designs.
Pay special attention to the pivot points of the butterfly flaps during weekly cleaning. Use the toothbrush to clean into the pivot area and flush with water thoroughly. Occasional light lubrication of the pivot points with a tiny amount of mineral oil keeps the mechanism operating smoothly over years of use.
Test the butterfly mechanism periodically by opening and closing it several times. It should operate smoothly with light resistance. Any stiffness, grinding, or uneven movement is a sign that cleaning or lubrication is needed.
Adjustable Razors
Vintage adjustable razors like the Gillette Slim Adjustable and modern adjustables like the Rockwell 6S have the most complex internal mechanisms of any safety razor type and benefit from the most thorough maintenance attention.
For modern adjustables like the Rockwell 6S, the plate-swapping mechanism is simple and low-maintenance. Keep the plates and head clean with the standard weekly routine. No lubrication is required.
For vintage adjustable razors, the internal adjustment mechanism can become stiff or inconsistent with accumulated debris. An ultrasonic cleaner is the most effective tool for deep-cleaning vintage adjustable razors without disassembling mechanisms that were not designed to be taken apart. Many wet shaving enthusiasts use inexpensive ultrasonic jewelry cleaners for this purpose.
Restoring a Neglected Razor
If you have a safety razor that has been stored improperly, used without adequate maintenance, or picked up secondhand without knowing its history, here is how to restore it to good working condition.
Assessment
Inspect the razor carefully under good light. Check for rust, heavy mineral deposits, damaged plating, bent or damaged blade alignment tabs, and thread condition. Most of these issues are addressable with cleaning. A razor with significantly damaged head alignment tabs or severely corroded threads may not be restorable to reliable shaving condition.
Initial Deep Clean
Soak all metal components in warm soapy water for ten to fifteen minutes to soften accumulated deposits. Follow with a long white vinegar soak if significant mineral deposits are present. Scrub thoroughly with a toothbrush. Rinse completely and allow to dry.
Rust Treatment
Small rust spots on chrome-plated surfaces can sometimes be addressed by gentle rubbing with a damp cloth and a tiny amount of baking soda paste. This is mildly abrasive and should be done with care. After treating rust spots, rinse thoroughly.
For stainless steel razors, metal polish applied with a soft cloth removes surface rust and restores shine. Never use abrasive metal polish on chrome-plated razors. It will remove the plating.
Thread Restoration
Stiff threads that are difficult to turn usually respond to thorough cleaning and a tiny amount of mineral oil applied to the threads. Run the handle on and off several times after lubrication to work the oil into the thread grooves.
Test Before Shaving
After restoring a neglected razor, load a blade and check alignment carefully before shaving. The blade should sit evenly centered with equal protrusion on both sides. Test the smoothness of thread operation. Only shave with the razor once you are satisfied that alignment and mechanics are functioning correctly.
AMAZON AFFILIATE DISCLAIMER
This post contains affiliate links. If you purchase through our links, we may earn a small commission at no extra cost to you.
Frequently Asked Questions
How often should I clean my safety razor?
A thorough rinse after every shave is the minimum. A full disassembly and toothbrush clean once a week keeps the razor in optimal condition. A monthly inspection for wear and developing issues rounds out the routine.
Can I put my safety razor in the dishwasher?
Not recommended. Dishwasher detergents are abrasive and the high-temperature cycles can damage chrome plating and accelerate wear on zinc alloy components. Stainless steel razors are more dishwasher-tolerant but even for these, a hand clean with warm soapy water and a soft brush produces better results with less risk.
How do I remove hard water stains from my safety razor?
A soak in undiluted white vinegar for fifteen to thirty minutes followed by a thorough scrub with a soft toothbrush is the most effective approach. Rinse thoroughly after the vinegar soak. Repeat if necessary for heavy deposits.
Can I use alcohol to clean my safety razor?
A brief wipe with isopropyl alcohol is acceptable for sanitizing purposes, particularly when sharing a razor or using a secondhand razor for the first time. Extended soaking in alcohol is not recommended for chrome-plated razors as it can affect the plating over time.
How do I know when a blade is too dull to use?
The primary signal is feel. When the blade starts dragging or pulling rather than gliding, it needs replacing. Other signals are increased irritation, visible oxidation or spotting on the blade, and the sensation of needing to apply more pressure than usual to achieve a clean cut.
Should I oil my safety razor?
Light mineral oil applied to the threads and any moving parts on butterfly or adjustable razors is beneficial for lubrication and corrosion prevention. Use the minimum amount necessary. The razor head itself and the blade do not need oiling.
How do I dispose of used blades safely?
A blade bank is the correct disposal method. Drop used blades into the slot of a metal blade bank until it is full. Seal the full bank and place it in the general waste bin or take it to a metal recycling facility. Never wrap loose blades in tissue and place them in the bin.
Can I sharpen a dull safety razor blade?
Safety razor blades are not designed to be resharpened and the cost of the blades makes doing so unnecessary. At 10 to 50 cents per blade, replacement is always the correct approach when a blade is past its useful life. Some shavers use the denim strop technique to briefly extend blade life, but this is an enthusiast-level approach that adds more complexity than value for most shavers.