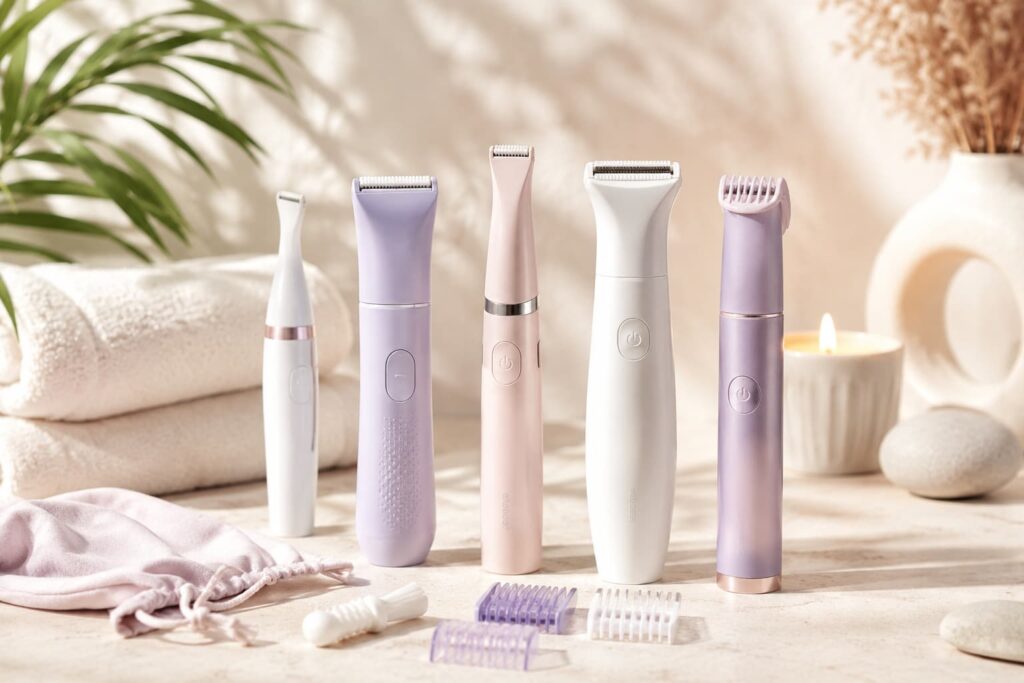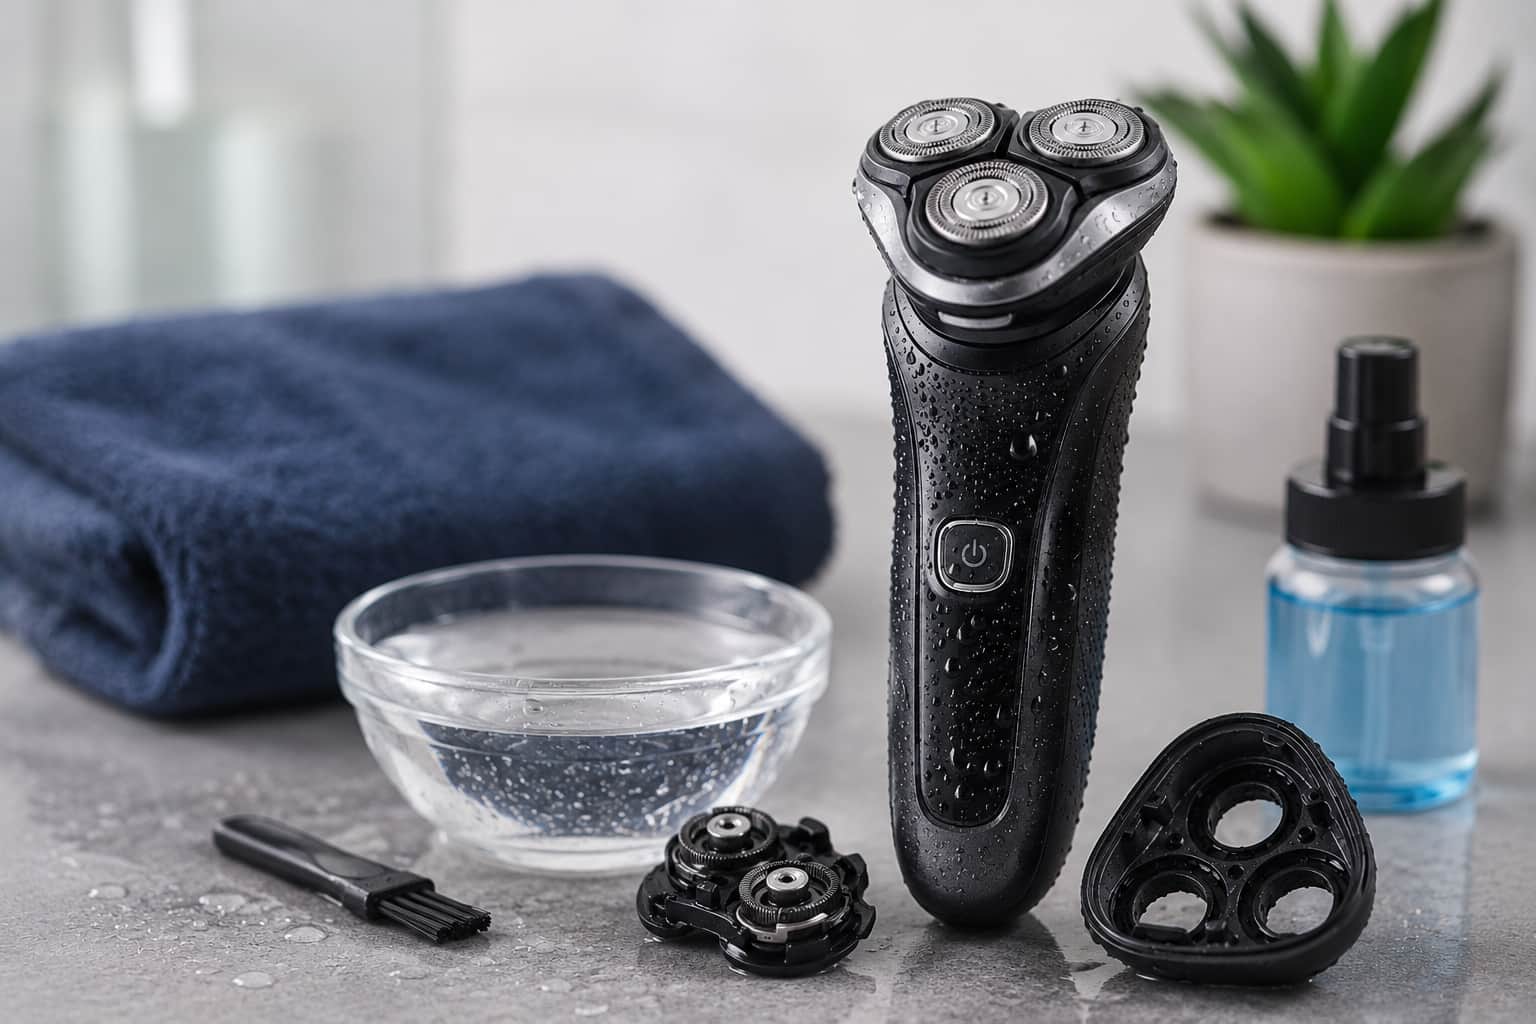
If your electric razor is tugging, pulling or no longer giving the close shave it used to, the problem is almost always cleaning, not the razor itself. Every shave packs hair clippings, dead skin, gel residue and natural oils into the foil or blade cassette that buildup blunts the cutting edge, drags on the skin and makes the motor work harder than it should. The result is a worse shave, more irritation and an electric razor that dies years before it should.
Learning how to clean an electric razor properly is one of the highest payoff habits in your whole routine. It takes under two minutes a day and keeps every shave feeling like the first. This guide walks through the full routine, the daily clean, the deep clean, fixing a sticky razor, oiling and blade replacement, for both foil and rotary shavers. The steps work the same whether you own a Braun, Panasonic, Philips Norelco or Remington.
Why Cleaning Your Electric Razor Matters
Most men underestimate how fast debris builds up inside an electric razor. A single shave drops thousands of tiny hair clippings, skin cells, and oils into the foil or rotary head. Left alone that gunk does four things that wreck your shave.
It blunts the cutting edge, because packed debris acts like grit against the blades every time you shave, wearing them down faster than normal use would. It drags on the skin, since a clogged head cannot glide freely, so you get more friction, more heat, and more irritation, especially on sensitive skin. It strains the motor which runs hotter and burns more battery fighting a clogged blade system, shortening both runtime and motor life and it breeds bacteria, because warm, damp debris inside the head is the perfect place for it to grow which a regular clean wipes out.
How Often Should You Clean an Electric Razor?
How often you clean depends on how often you shave and which type of razor you use.
| Cleaning Type | How Often | Time |
| Quick rinse or brush | After every shave | 30 seconds |
| Full head rinse under water | Every 2 to 3 shaves | 1 to 2 min |
| Deep clean with soap | Once a week | 3 to 5 min |
| Lubrication (oiling) | Once a week or after a deep clean | 1 minute |
| Blade and foil replacement | Every 12 to 18 months | 2 minutes |
Daily shavers should brush or rinse after every use. If you shave every two to three days, rotate between a quick clean and a full rinse. A weekly deep clean keeps performance steady no matter how often you shave.
What You Need to Clean an Electric Razor
You do not need much, and most of it is already in your bathroom.
For basic cleaning: the small brush that came with your razor, running water (waterproof razors only) and a little mild hand soap or dish soap. For deep cleaning: a small bowl, mild soap or a dedicated shaver cleaning solution, a soft toothbrush for stubborn debris and a clean dry cloth. For lubrication: dedicated electric shaver oil (best) or light mineral oil, and only a single drop is needed. Optional extras that help: an automatic cleaning station and a can of compressed air for hard to reach spots.
How to Clean a Foil Electric Razor: Step by Step
Foil razors need a slightly gentler approach than rotary ones, because the thin foil screen damages easily with the wrong technique.
Step 1: Power Off and Take It Apart
Switch the razor off fully before you clean it. Press the release button to pop off the foil and blade cassette, checking your model’s manual if you are unsure. Never clean the foil while the razor is on.
Step 2: Tap Out the Loose Debris
Hold the body over a bin and tap it gently against your palm to knock out the loose clippings behind the foil. Do not shake it hard, as that can dent the delicate foil.
Step 3: Brush the Inner Blade Block
Use the included brush to sweep hair off the inner blade block. Brush in one direction only, from the centre outward, since scrubbing back and forth can knock the blade edges out of line.
Step 4: Rinse Under Water (Waterproof Razors Only)
If your razor is IPX7 rated or higher, hold the open foil cassette under warm running water for 15 to 20 seconds to flush out the fine debris the brush misses. Add one small drop of mild soap, work it in gently with a fingertip, then rinse clean.
Step 5: Rinse the Body
Briefly hold the open razor body under the water to flush any hair or soap out of the blade block housing.
Step 6: Shake Off Water and Air Dry
Shake the head gently to shed excess water, then lay every part on a clean towel and let it air dry fully, at least one to two hours. Never put a wet foil razor back together, since trapped moisture damages both the foil and the blade edge.
Step 7: Reassemble and Oil
Once everything is dry, click the foil cassette back on and add one small drop of shaver oil to the foil before your next shave.
How to Clean a Rotary Electric Razor: Step by Step
Rotary razors have more parts to clean, usually three or four separate heads with their own cutters but the process is simple once you know it.
Step 1: Power Off and Open the Head
Turn the razor off. Press the head release to open the cover, which on most Philips Norelco models is a single button on top and the cover swings open to show the three rotary heads inside.
Step 2: Remove Each Head Carefully
Most rotary heads lift out one by one. Take each one out carefully and keep them in order because many models pair each head to its exact position and mixing them up hurts cutting performance. Some razors number the heads and slots for this reason.
Step 3: Tap and Brush Every Part
Tap each head over a bin to shed loose debris, then brush each head and the inside of the housing. Pay extra attention to the slots around the circular guard, where hair packs in tightest.
Step 4: Rinse Under Water
Rinse each head and the housing under warm running water. Add a little mild soap to each head, work it in with your fingers, rinse well and rinse the body housing too.
Step 5: Air Dry Fully
Shake off the water, lay all parts on a clean towel, and let them dry for at least one to two hours. Put the heads back in their correct slots only once fully dry.
Step 6: Oil After Drying
Add one small drop of shaver oil to each rotary head before closing the cover, then run the razor for five to ten seconds to spread the oil evenly.
Cleaning the Blades and Head: What to Focus On
Whichever type you own, the blades and the head are where cleaning actually counts because that is where debris packs in and where a close shave is won or lost. When you clean the blades, always brush in one direction and let water do the scrubbing rather than forcing a brush against them. When you clean the head, focus on the slots and edges where hair hides, and never dry it with a rough cloth that can scratch the surfaces. Keep these two parts genuinely clean and dry and you fix the vast majority of shave quality complaints on their own.
How to Clean an Electric Razor When It Gets Sticky
A sticky electric razor is one of the most common complaints, and it almost always comes from dried shaving gel, soap, or old oil that has hardened inside the head. A quick brush will not shift it, so here is how to clear it.
First, take the head apart as described above. Fill a small bowl with warm (not hot) water and a few drops of mild soap, then soak the blade parts, keeping the motor body out of the water, for two to three minutes so the sticky residue softens. Work a soft toothbrush gently over the sticky spots and slots to lift the softened film, then rinse each part thoroughly under clean running water. If any stickiness remains on a non waterproof part, wipe it with a cotton bud dipped in 70 percent isopropyl alcohol, which cuts through oil and gel residue. Air dry everything fully, then add one fresh drop of oil. Going forward, using a thin layer of gel rather than a thick one and rinsing after every wet shave, stops the stickiness coming back.
How to Deep Clean an Electric Razor
A weekly deep clean removes the residue that a quick rinse leaves behind, which matters most if you use shaving gel or shave less often and let debris build up.
Deep Clean for Waterproof Razors
- Take the head fully apart as described above.
- Fill a small bowl with warm water and two to three drops of mild soap.
- Submerge the blade parts, not the motor body, in the soapy water.
- Swish each part around for 20 to 30 seconds.
- Use a soft toothbrush to lift any stubborn debris from the blades and housing slots.
- Rinse each part well under clean running water.
- Shake off the water and air dry fully on a towel, at least two hours.
- Oil before reassembling.
Deep Clean for Non-Waterproof Razors
- Take the head apart.
- Brush all the dry debris off every part.
- Dampen a cotton bud or soft cloth with 70 percent isopropyl alcohol.
- Wipe each blade part gently, which disinfects and lifts oil residue without any submerging.
- Let everything air dry fully.
- Oil before reassembling.
How to Disinfect or Sterilize an Electric Razor
If you want to disinfect your electric razor, say after being unwell or before sharing is unavoidable, the safest method is 70 percent isopropyl alcohol. Clean the razor first, then wipe every blade part and the head with a cloth or cotton bud dampened in the alcohol and let it air dry fully before reassembling. Alcohol kills most bacteria without harming the metal or plastic. Avoid bleach, boiling water, or high strength alcohol, since these warp plastic parts and strip blade coatings. For everyday hygiene, a weekly soapy deep clean already keeps a razor sanitary.
How to Lubricate (Oil) Your Electric Razor
Lubrication is the most overlooked part of maintenance and one of the most useful. A well oiled razor runs cooler, cuts smoother and keeps its blades sharp far longer.
What to use: dedicated electric shaver oil is best, and Braun, Panasonic and Remington all sell small bottles made for their razors. Light mineral oil or sewing machine oil work as substitutes. Never use WD-40, cooking oil or petroleum based products, as they eat into plastic parts and blade coatings.
How to apply it: make sure the head is clean and fully dry, add a single drop of oil to the foil (foil razors) or to each rotary head (rotary razors), run the razor for five to ten seconds to spread it, then wipe off any excess with a clean cloth.
How often: once a week for regular users and always after a deep clean. If your razor suddenly sounds louder or the motor feels like it is straining, try oiling it before assuming the blades need replacing.
Automatic Cleaning Stations: Are They Worth It?
Automatic cleaning stations like the Braun Clean and Charge Station and the Panasonic Automatic Cleaning System clean, oil, and dry your razor at the press of a button, using a cartridge of fluid that usually lasts two to three months for daily shavers.
The case for them: they are genuinely convenient, since you just drop the razor in, press the button and walk away. The fluid cleans more thoroughly than soap and water and oils at the same time and for anyone who forgets to clean by hand, a station takes the discipline out of the equation.
The case against them: cartridges cost around $10 to $20 each and need replacing every two to three months, which adds roughly $40 to $80 a year. If you clean consistently by hand, you get the same result for nothing.
The verdict: if your razor bundle already includes a station, as many Braun Series 7 and Series 9 kits do, use it, since it is the easiest way to stay consistent. If you would be buying one separately, steady manual cleaning is just as effective and free.
Do Electric Razor Blades Get Dull? When to Replace Them
Yes, electric razor blades do get dull. Even with perfect cleaning and oiling, the cutting edges wear down over time and a dull blade is one of the top reasons a razor starts tugging. Replacing on schedule keeps the shave close and comfortable.
When to Replace
By schedule: swap the foil and blade cassette every 12 to 18 months for daily shavers and closer to 12 months if you have a coarse or thick beard, since dense hair wears blades faster. Our guide on how long electric shavers last breaks this down by beard type and shaving frequency.
By performance, replace when you notice any of these: the shave feels less close than it used to, the razor tugs or pulls instead of cutting cleanly, you need more passes for the same result, irritation creeps up for no other reason or the razor sounds louder and the motor seems to strain.
How to Replace
- Power the razor off completely.
- Remove the foil and blade cassette, which on most models is a single click release.
- Throw out the old cassette.
- Snap the new cassette in until it clicks firmly.
- Add a drop of oil to the new foil before the first use.
- Run the razor for ten seconds to spread the oil.
Where to buy: always use genuine manufacturer cassettes for your exact model, whether Braun, Panasonic, Philips or Remington. Generic third party replacements are cheaper but often use weaker blade materials that dull faster and may not fit precisely, which hurts shave quality from day one.
Common Electric Razor Maintenance Mistakes
These mistakes shorten a razor’s life and ruin the shave faster than anything else. Cleaning with the razor still switched on, which can damage the cutting mechanism, so always power off first. Scrubbing the foil screen back and forth, which tears the fine perforations, so brush one way and rinse instead. Reassembling while wet, which traps moisture and corrodes the blades, so always air dry fully first. Skipping the oil, which lets the razor run hot and wear faster, when one drop a week takes ten seconds. Using harsh products like bleach or strong solvents, which wreck plastic and coatings, so stick to mild soap, shaver solution or 70 percent alcohol and waiting far too long to replace blades, since a fresh cassette usually restores near new performance instantly.
Best Electric Shavers with Easy Cleaning Systems
These shavers combine excellent shave performance with the most user-friendly maintenance systems available. For full reviews, see our complete guide to the best electric shavers for men.
Braun Series 9 Pro+ with Clean and Charge Station
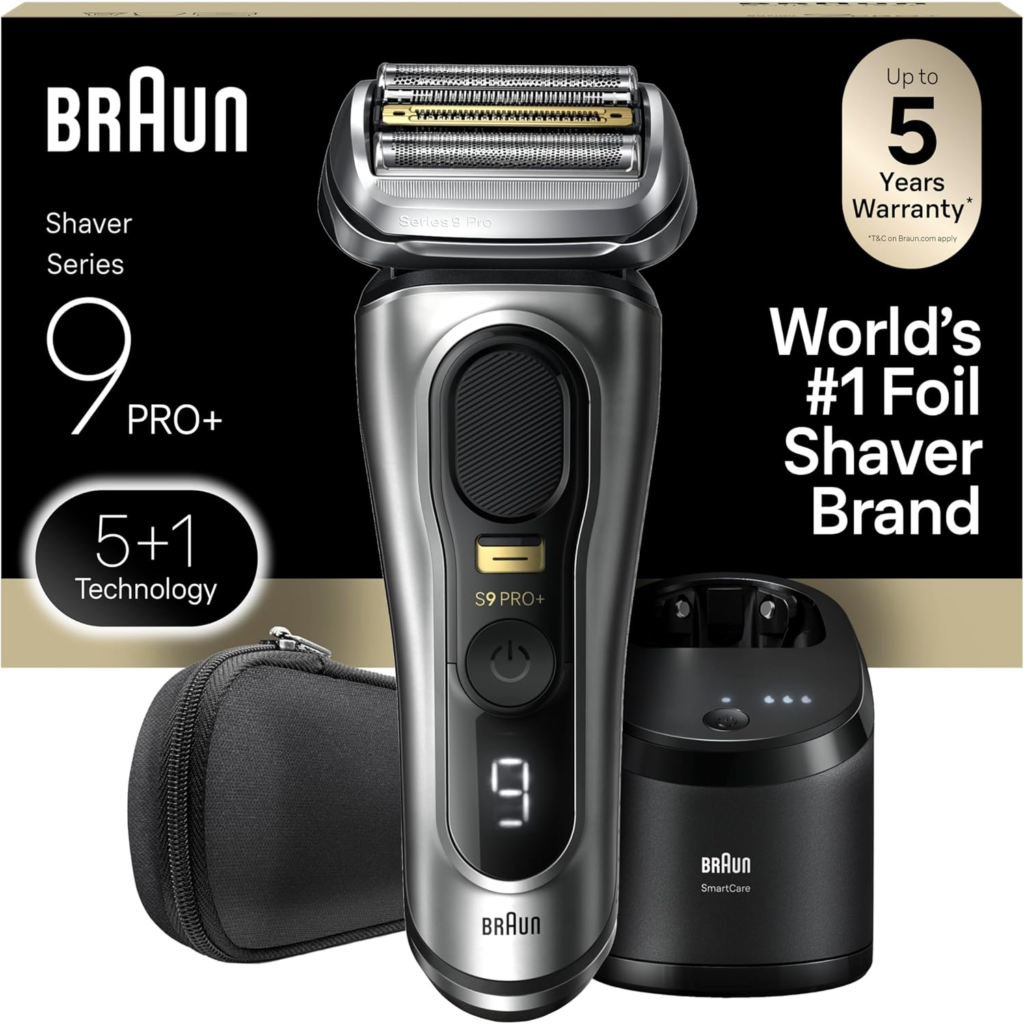
Key Specs:
- 5-sync cutting elements
- Automated Clean and Charge Station included
- Cleaning cartridges last 2 to 3 months
- IPX7 waterproof for manual wet cleaning
- 60-minute battery
Pros:
- Fully automated cleaning, lubrication, and drying in one station
- Station also charges the shaver during the cleaning cycle
- Waterproof for manual cleaning when travelling without the station
Cons:
- Cleaning cartridges are an ongoing cost
- Station takes up counter space
Best For: Men who want zero-effort maintenance and are willing to pay for the convenience of fully automated cleaning.
👉 Check Latest Price on Amazon
Braun Series 7 with Clean and Charge Station
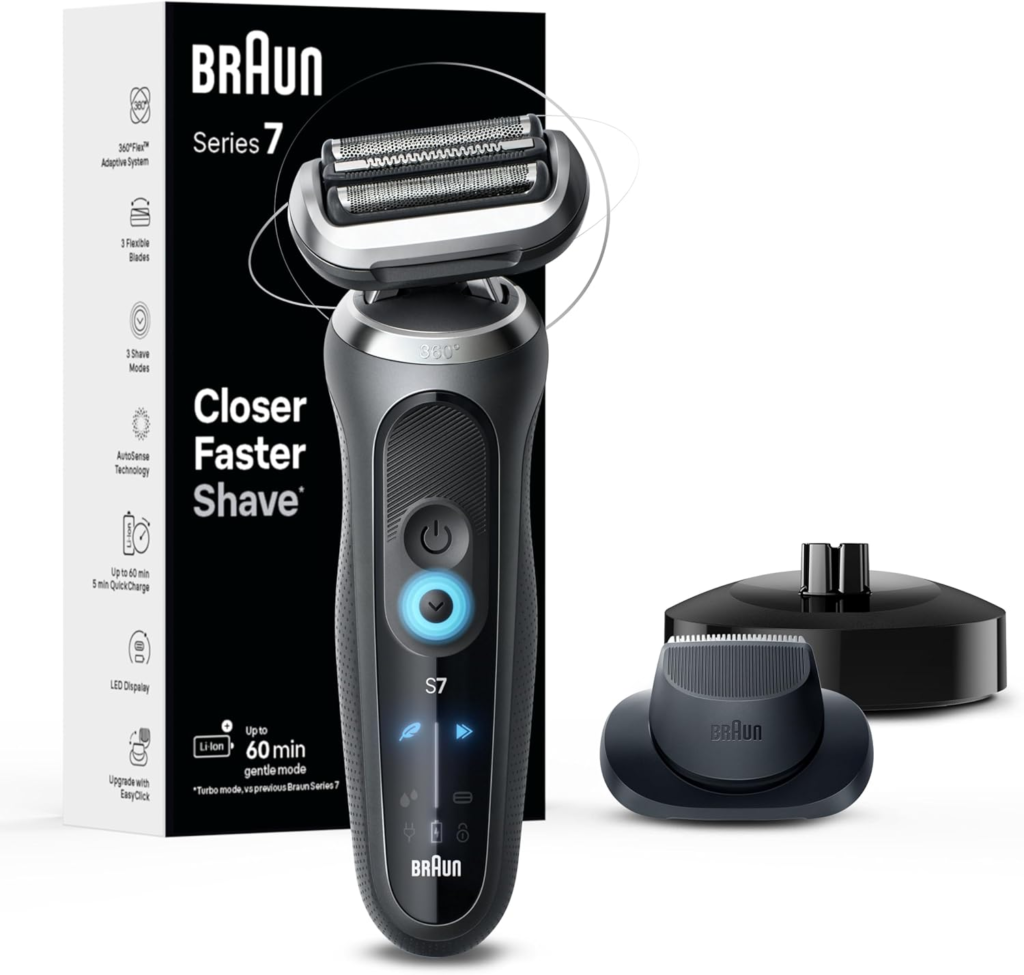
Key Specs:
- 4+1 cutting elements with AutoSense
- Clean and Charge Station included in most bundles
- IPX7 waterproof
- 50-minute battery
- EasyClean compatible for quick tap-and-rinse
Pros:
- Clean and Charge Station delivers consistent automated maintenance at a lower price than Series 9
- AutoSense technology reduces debris accumulation by matching motor speed to beard density
- EasyClean system allows quick manual rinse as a between-station clean option
Cons:
- Station cartridge cost applies as with all Braun clean stations
- Slightly fewer cutting elements than Series 9
Best For: Men who want automated cleaning convenience at a mid-range price point.
👉 Check Latest Price on Amazon
Panasonic Arc5 ES-LV97 with Automatic Cleaning System
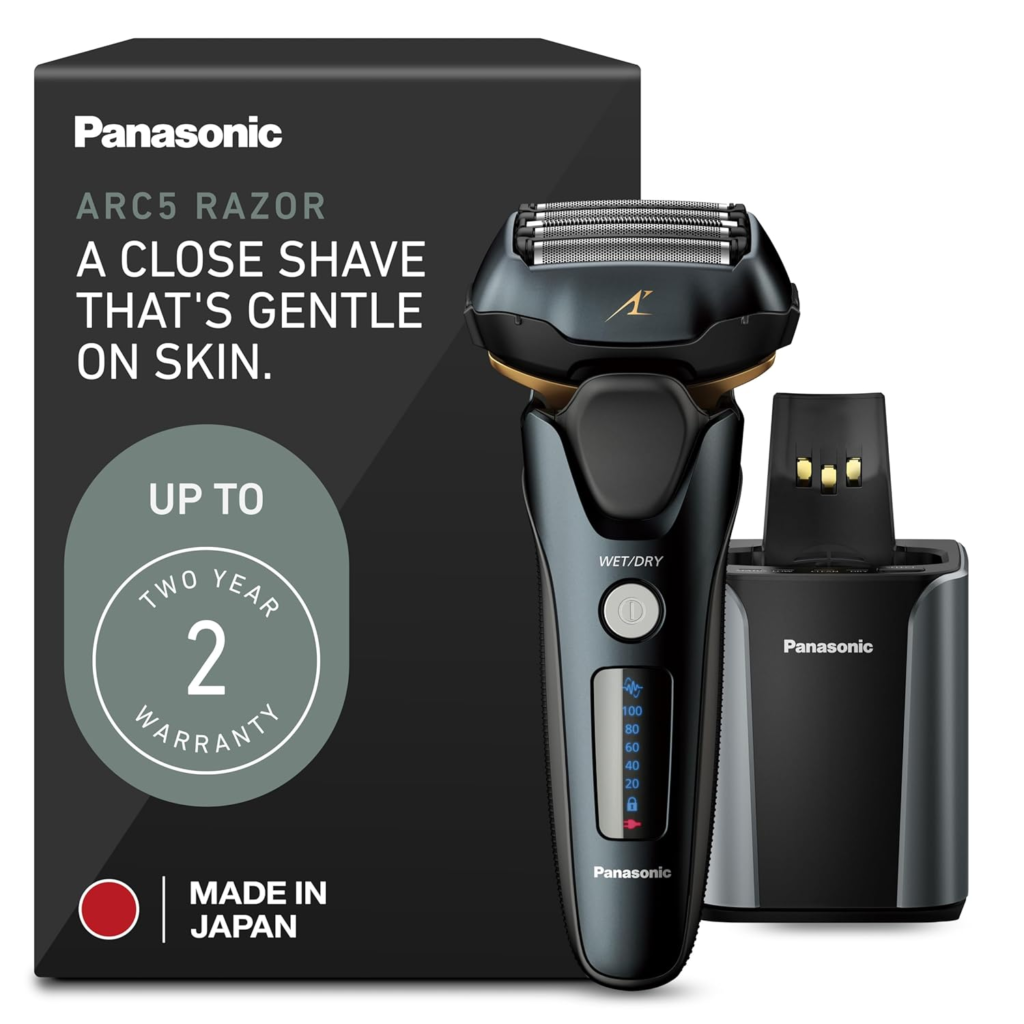
Key Specs:
- 5-blade system with 14,000 CPM motor
- Automatic cleaning and charging system
- IPX7 waterproof for manual cleaning
- 45-minute battery
Pros:
- Panasonic’s automatic system cleans and charges simultaneously
- Manual wet cleaning equally easy thanks to fully waterproof construction
- Best for thick beard users who generate more debris per session
Cons:
- Cleaning system cartridges are an ongoing cost
- Bulkier station footprint than Braun equivalents
Best For: Men with thick or coarse beards who generate heavier shaver debris and want automated cleaning to handle it.
👉 Check Latest Price on Amazon
Philips Norelco i9000 Prestige
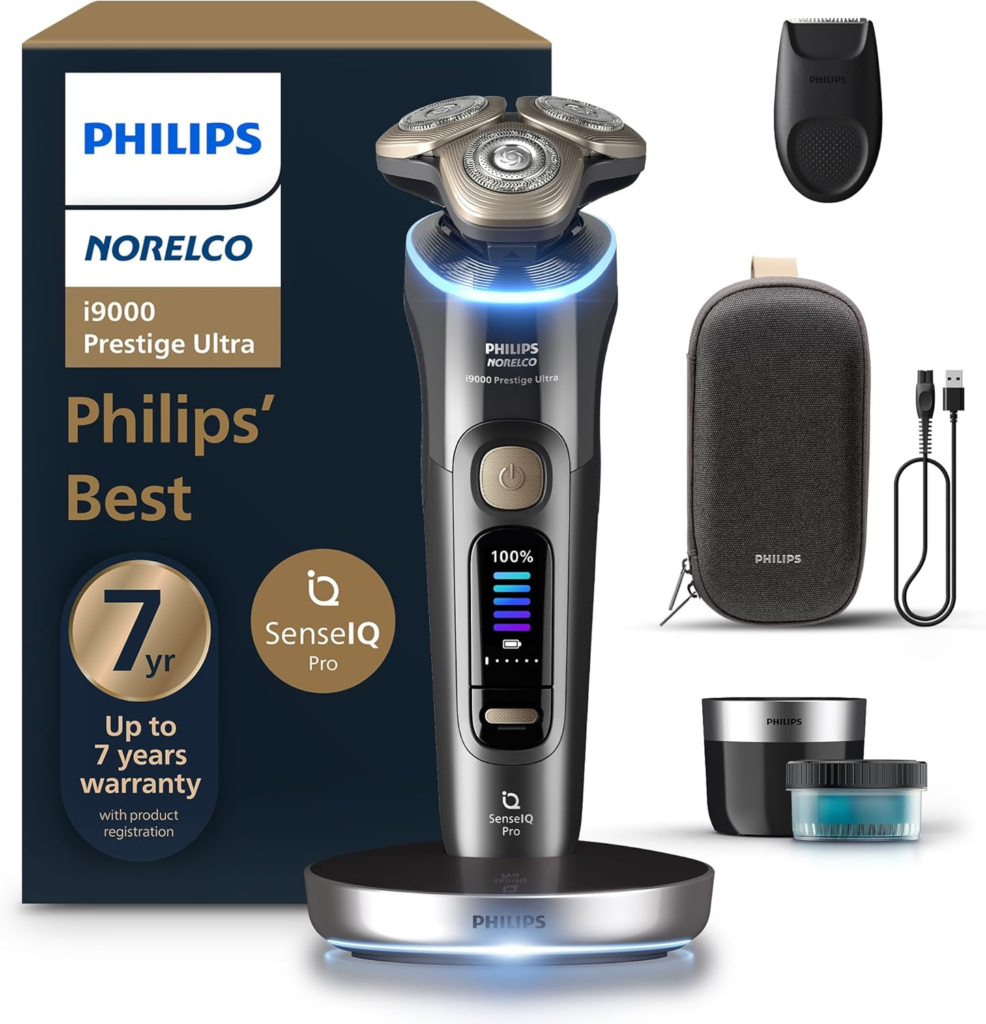
Key Specs:
- 3 V-Track rotary heads
- Fully waterproof IPX7 — rinse under tap easily
- SmartClean system compatible
- USB-C charging
Pros:
- Rotary head design is among the easiest to rinse manually — open the head, rinse each component, done
- SmartClean system available as an add-on for automated cleaning
- USB-C charging adds travel convenience
Cons:
- SmartClean station sold separately rather than bundled
- Rotary heads require more careful reassembly to maintain head positioning
Best For: Men who prefer rotary shavers and want easy manual cleaning with the option to add an automatic station.
👉 Check Latest Price on Amazon
Who This Guide Is For
This maintenance guide applies to every electric shaver user but the following groups benefit most from following it consistently.
Daily shavers who notice their shaver performing less well after a few months almost always a cleaning and lubrication issue rather than a shaver quality issue.
Men with sensitive skin who experience increasing irritation over time, a dirty shaver with worn blades is one of the most common causes of escalating post-shave reactions.
Men with thick or coarse beards who generate more debris per session and need to clean more frequently to maintain performance. Our guide on the best electric shavers for thick and coarse beards covers how cleaning frequency should increase for heavy beard types.
Budget shaver owners who want to extend the life of a less expensive model, consistent cleaning and timely blade replacement can keep a budget shaver performing close to its original standard for years.
👉 The right maintenance routine is free and takes less than two minutes. Start today and your next shave will already feel better.
Conclusion
Knowing how to clean an electric razor is the difference between one that fades after six months and one that shaves well for five years or more. The routine is simple: a quick rinse or brush after every shave, a proper wash once a week, a drop of oil weekly and a blade change every 12 to 18 months. If yours has turned sticky or started tugging, clean and oil it thoroughly before you blame the razor because a proper deep clean fixes the problem most of the time.
To pick a razor built for easy upkeep, our electric shaver buying guide treats cleaning systems as a key criterion, and our guide to the best electric shavers for men factors cleaning ease into every review.
Amazon Affiliate Disclaimer
This post contains affiliate links. If you buy through one of them, we may earn a small commission at no extra cost to you.
FAQs
Q1: How often should I clean my electric razor?
Brush or rinse after every shave, do a full rinse under water every two to three shaves and a deep clean with soap once a week. Oil it once a week after cleaning. This keeps performance steady and extends blade and motor life.
Q2: Can I clean my electric razor with water?
Only if it is IPX7 waterproof or higher. Running water through a non waterproof razor damages the motor and voids the warranty, so check your model’s IPX rating before any wet cleaning.
Q3: How do I clean an electric razor that has gone sticky?
Take the head apart, soak the blade parts in warm soapy water for two to three minutes to soften the dried gel or oil, brush the sticky spots gently with a soft toothbrush, rinse well, and air dry before oiling. A cotton bud with 70 percent alcohol clears any residue on non waterproof parts.
Q4: Do electric razor blades get dull, and when should I replace them?
Yes, the edges wear down over time. Replace the foil and blade cassette every 12 to 18 months, or sooner if the shave feels less close, the razor tugs, or you need more passes than before.
Q5: What oil should I use to lubricate my electric razor?
Use dedicated electric shaver oil from the maker, such as Braun, Panasonic, or Philips, or light mineral oil as a substitute. Avoid WD-40, cooking oils, and petroleum based products, which damage plastic and blade coatings.
Q6: How do I disinfect or sterilize an electric razor?
Clean it first, then wipe every blade part and the head with 70 percent isopropyl alcohol and let it air dry fully. Avoid bleach and boiling water, which damage the razor. A weekly soapy deep clean keeps it sanitary day to day.
Q7: Are automatic cleaning stations worth buying?
If you tend to forget manual cleaning, yes, since a station keeps the razor cleaned and oiled with no effort. If you clean consistently by hand, the ongoing cartridge cost makes a station optional rather than necessary.
Q8: How do I clean an electric razor that is not waterproof?
Brush off all dry debris after every shave, and for a deeper clean wipe each blade part with a cotton bud dipped in 70 percent isopropyl alcohol. Air dry fully before reassembling and never run water over any part of a non waterproof razor.
Q9: Why does my electric razor pull and tug after a few months?
Almost always debris buildup or worn blades. Start with a deep clean and fresh oil, which fixes it most of the time. If it still tugs, the blades likely need replacing, especially if the cassette is over 12 months old.